An auspicious beginning with the humble Vadai…
The Muthiah household believed in celebrating their festivals with much gusto! And festivals meant food, lots of it. My favourite was Diwali (the festival of lights), not for the firecrackers, which I was terrified of, but for the finery and the food. Diwali was usually in October / November, but come September, just after Saraswati Poojai, a grumbling Aiyah would be dragged to brave the crowds at Ayah’s favourite shop, Kumaran’s to buy clothes for the family - it had to be pure silk for the girls and two Premier veshtis (light-weight), and cloth for two custom-made shirts for Aiyah.
A few weeks later, it was time for the food preparation to start. Tradition had it that every special occasion demanded the ennai chatti (deep frying pan) come out – not sure where this tradition originated from, maybe the amount of oil used equated to a show of wealth? No matter the origin, childhood memories, especially of Diwali, revolved around ennai palagaram (the ubiquitous word for South Indian fried food, breakfast or snacks). So, out came the ennai chatti to make cheepu cheedai (a typical Chettinad fried snack) and the condensed milk to make Nutramul fudge, both in large quantities to be packed and distributed to neighbours, family and friends. Before that though, the first lot, fresh off the pan and untasted, had to be presented to God as prasadam. His feast began before ours, always.
As the big day dawned, we were woken up bright and early for an oil bath, prayers and the clothes distribution. The kitchen, meanwhile, was already bustling - Ayah and the cook having woken up in the wee hours of the morning to prepare breakfast. There was soaking, grinding, steaming, not to mention a lot of frying, to be done. The ennai chatti was in full swing.
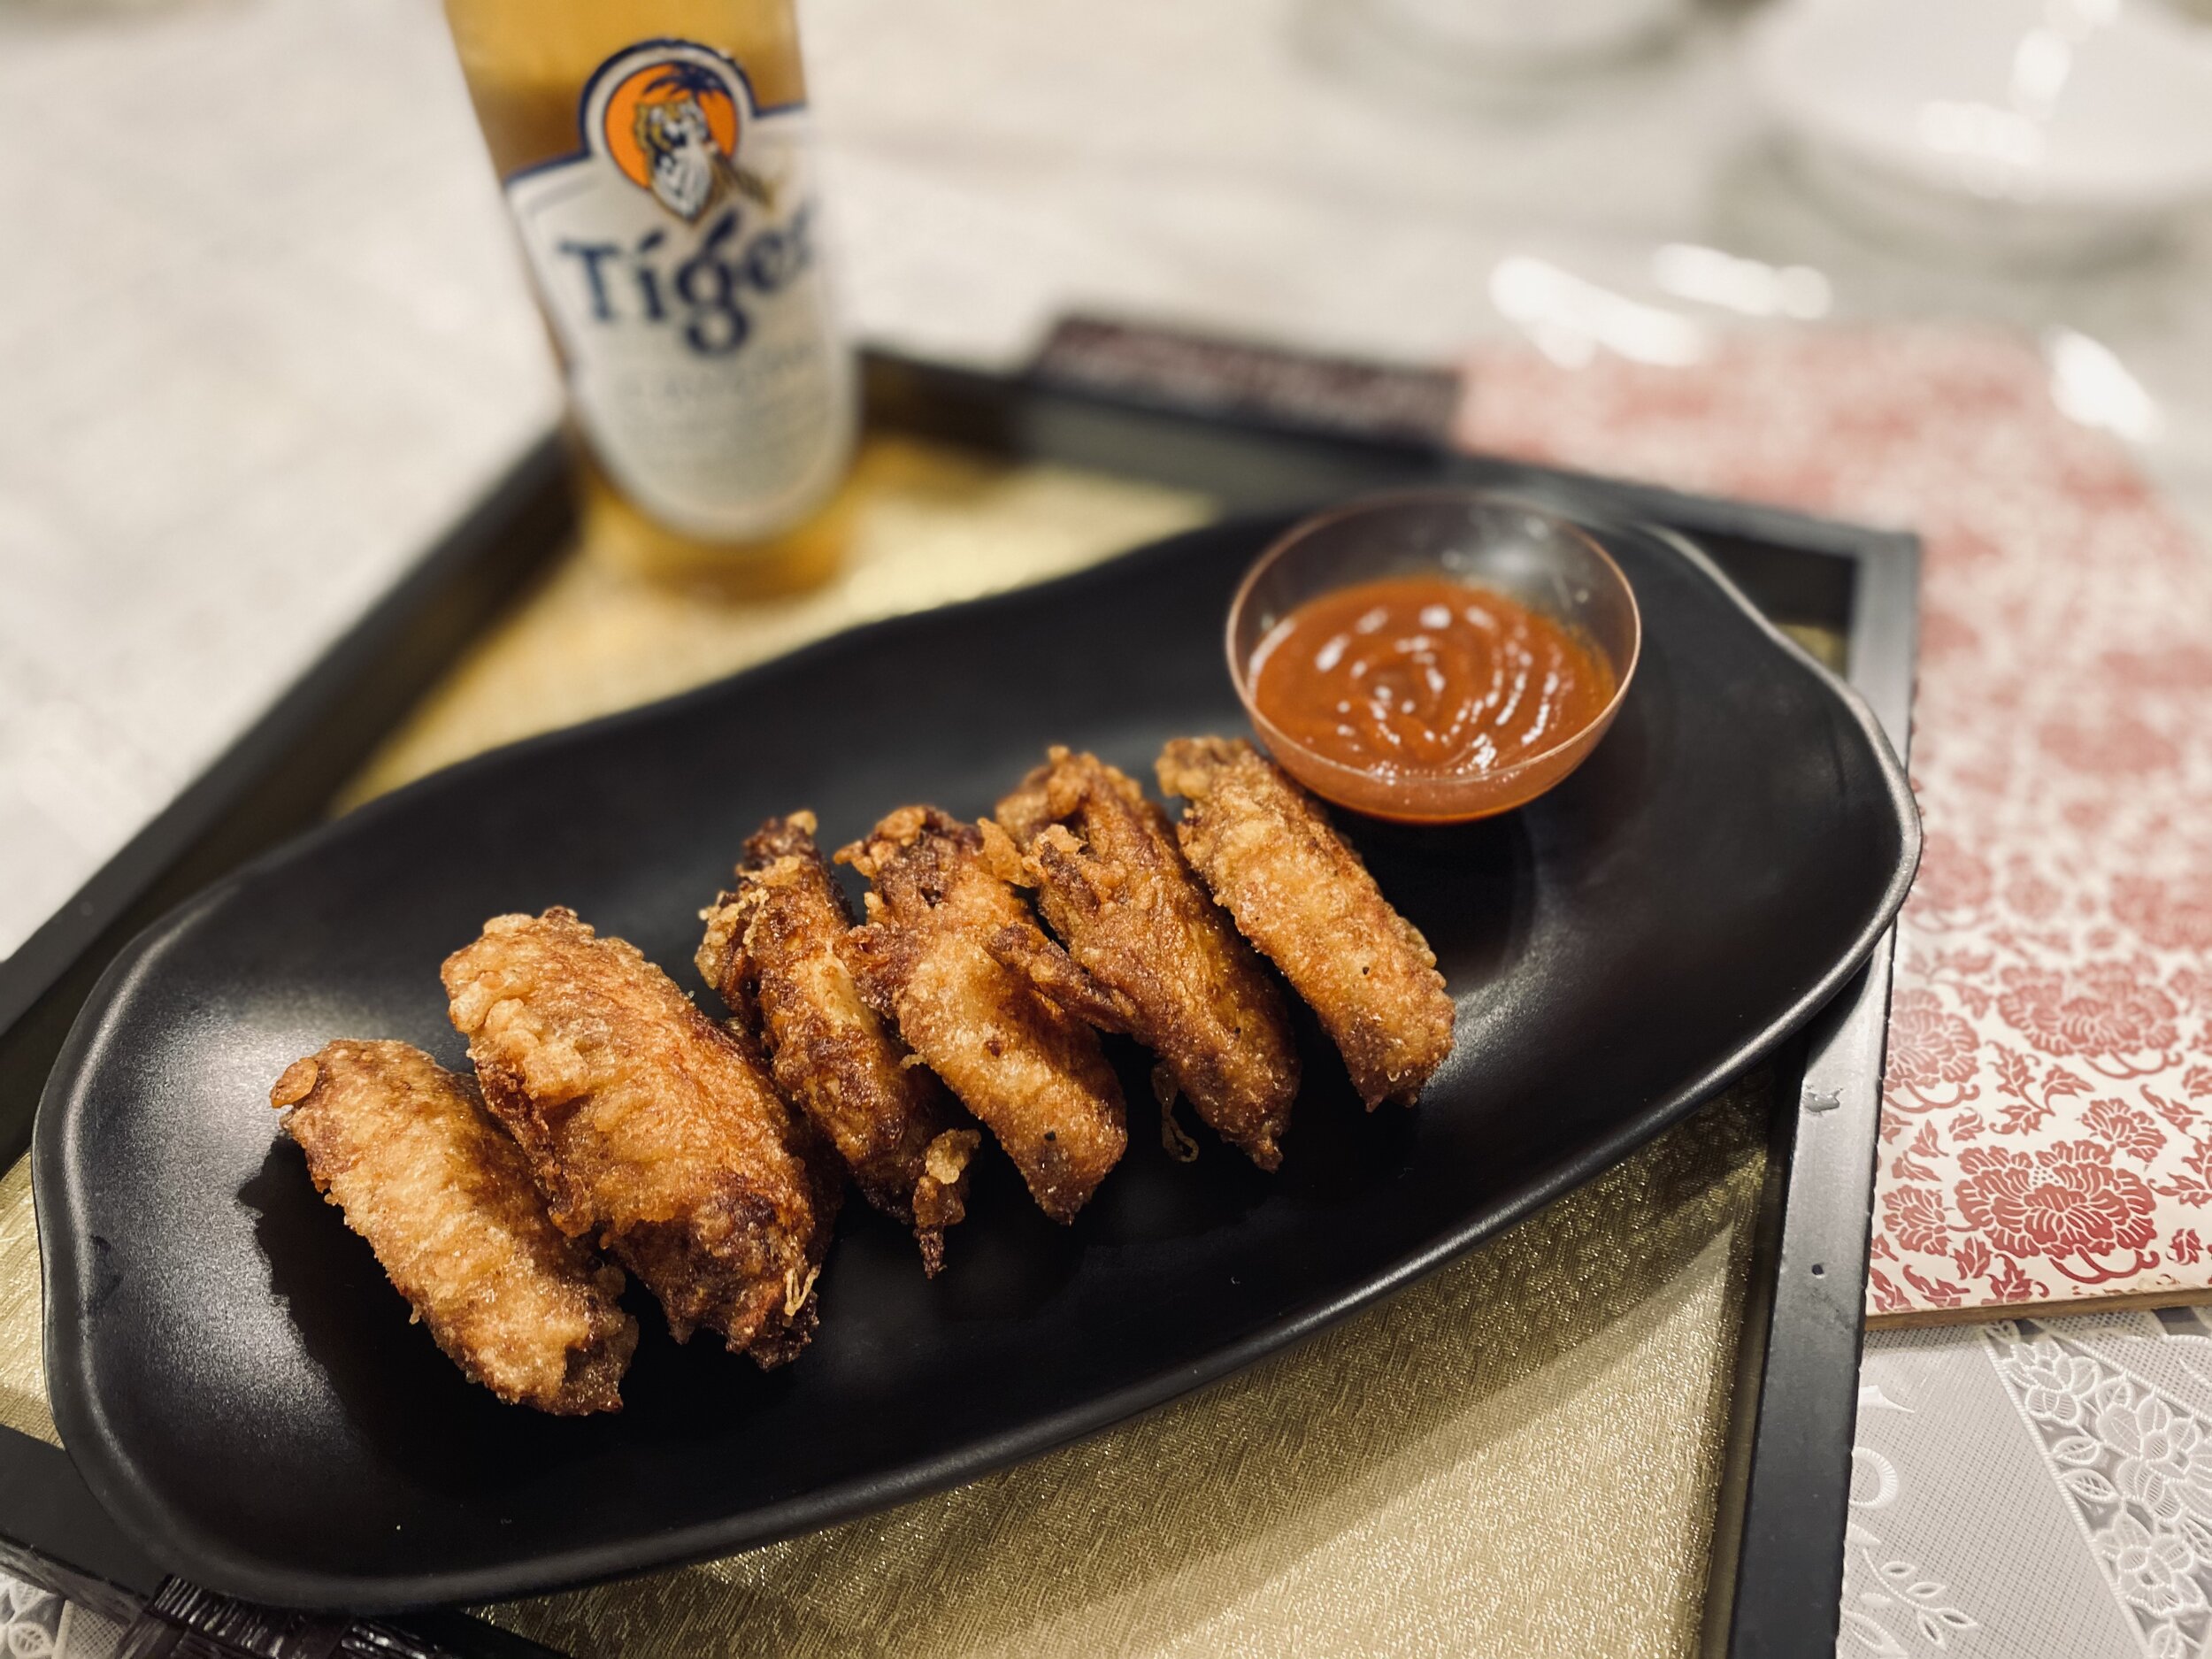
By the time the two dutifully oiled and bathed girls, adorned in their fine Diwali clothes, trekked down the stairs, Ayah and the cook had the dining table ready with fluffy maligai poo idlis (steamed rice cakes) with sambhar (lentil and vegetable curry), crispy on the outside and fluffy on the inside ulunda vadais (savoury donut shaped lentil fritters) paired with thakkali thuvaiyal (sautéed tomato chutney), vellai paniyaram (savoury deep fried rice cakes) with spicy varamilagai chutney (dried red chilli chutney) and finally the pièce de résistance, the kalkandu vadai (the rock sugar sweetened version of the vadai, our answer to Krispy Kreme). Most South Indians would consider the maligai poo idlis the pièce de résistance, but apart from Ayah, the rest of would have an obligatory one and rush for the good stuff, the ennai palagarams. There was no time to savour though - Ayah was breathing down our neck to get to the temple before it closed for the afternoon! So, off we went to the temple, sleep walked through the prayers and then back home to catch our breath before the fun part of the day - the family visits. That of course meant more food, as each relative vied with the other to put out a fabulous spread of snacks for the visitors. Lunch was a whole other meal, but that is for another post… Incidentally, while we’ve let many traditions fall by the wayside, the traditional Diwali celebrations with all its food and finery, right down to the Premier veshti for the man of the house, is something we still follow.
So, when the apprentice and I finally decided to buckle up and revisit Ayah’s recipes, the first on the list was the ulunda vadai, also known as medhu vadai, vadai or vada depending on which part of India you are from. I’m told this is a rather ancient dish - there have been historical references to this delicious South Indian breakfast staple, in some form or the other, as early as 100 BCE – 300 CE. While vadais are easy enough to make, there is some skill required in shaping these savoury lentil donut shaped snacks. While I had savoured them at numerous functions over the years, the first time I actually made them was as a young bride in Sydney with no clue how to shape them – what turned out were fried lentil balls, similar to bondas. Distress calls to Ayah and my mother-in-law over the next few attempts helped master the making of vadais finally.
So why start your blog with such a complicated recipe, asked the kitchen master in America (aka my sister). Well, Ayah was a superstitious person – every special occasion had to have vadai on the menu, and, of course, we had to start with the ennai chatti. Oh, and the ulterior motive was that I had to test the mettle of the apprentice - shhh! We will be bringing you the rest of recipes in the post soon.
In the meanwhile, to ensure an auspicious start to our venture, here is the not-so-humble vadai.
Note: Traditional recipes call for vadais to be made with just urad dal (black gram dal / ulundu) and soaked for at least 3 hours. However, this recipe varies from the original with the addition of raw rice (pacha arisi) and toor dal (pigeon peas / tuvaram paruppu) for additional crunch and calls for a shorter soaking duration.
This recipe makes 30 vadais - if you’d like to make less, you can halve the recipe. Any leftover batter can be frozen for up to two months. To use again, defrost by leaving out for a couple of hours.
Ingredients:
2 cups whole urad dal (black gram dal / mulu ulundam paruppu)
2 heaped tablespoons raw rice
1 flat tablespoon toor dal (pigeon peas / tuvaram paruppu)
Water to soak and grind (about 600 ml)
Salt to taste (about 2 ½ teaspoons)
Canola oil / Sunflower oil / Vegetable oil for frying
Optional:
1 onion, minced
2 green / red chillies, minced
10 curry leaves, minced
2 teaspoons whole peppercorns, coarsely ground
2 teaspoons cumin seeds (jeera), coarsely ground
¼ tsp salt
Method:

Wash the urad dal and the rice well, and soak together for one hour. The water should be about 1 inch above the soaking ingredients.
2 cups urad dal
2 heaped tablespoons raw rice
water to soak (about 600 ml)
2. After 50 minutes, add the toor dal to the urad dal and rice and soak for a further 10 minutes.
1 flat tablespoon toor dal
Note: Do not soak the toor dal for more than 10 minutes else the vadai will soak in too much oil while frying.
3. Drain 200 ml of the soaking water and reserve.

4. Add the soaked dal and rice mix and 100 ml of the reserved soaking water to the wet grinder and start grinding. While grinding, add more water, about 20 ml at a time, until the batter is smooth and fluffy. The grinding process will take about 40 – 50 minutes depending on the grinder.
5. Once the required consistency is reached, add the salt and let the grinder run for a few more seconds until the salt is mixed in.
Salt to taste (~2 ½ teaspoons)
Note: To check the consistency, take a little bit of the batter, roll into a ball and drop into a bowl of water – it should float up.
6. Turn the grinder off and scoop out all the batter into a bowl. Chill in the refrigerator for about 15 minutes.
7. To make the vadais, heat oil in a deep-frying pan and take out the batter from the refrigerator.

Oil for frying
Note: To test if the oil is hot enough for frying, pinch a bit of the batter and put into the oil – if it floats up, the oil is hot enough for frying.
8. While the oil is heating, keep a bowl of water (big enough to wash your hand), a sandwich sized Ziploc bag and a frying spoon / skewer ready.
Note: Some people prefer using a frying spoon, but I prefer using a skewer to turn the vadais over.
9. If using the optional ingredients, mix them in a bowl and add to the batter.

1 onion, minced
2 green / red chillies, minced
10 curry leaves, minced
2 teaspoons whole peppercorns, coarsely ground
2 teaspoons cumin seeds (jeera), coarsely ground
¼ tsp salt
Note: You could leave out any / all of these ingredients, depending on taste preferences. Tradition has it that the prasadam for the Gods must not have any added ingredients, so I always make a few without any of the optional ingredients and then add them to the rest of the batter.
10. To fry the vadais (watch video for the detailed process):
I am right-handed, so I’m going to explain this for a right-handed person. If you’re left-handed, reverse the hands.
Use the Ziploc bag like a glove on your left hand, palm face up, fingers together, slightly cupped.
With the right hand, wet the surface of the bag with water, and using the same hand pinch off some batter (about the size of a small lime) from the side of the bowl and put it on the open surface of the Ziploc bag, on the palm.
Scrape of any excess batter sticking to your fingers on the side of the bowl of batter and dip the fingers in the bowl of water.
Use the fingers of right hand to pat and flatten the vadai on the ziploc bag and, using your forefinger, make a hole in the centre like a donut.
Tip the vadai from the ziploc bag onto the fingertips of your right hand (make sure the hand is free of any batter and the fingertips are held together) and then slide it into the hot oil.
Repeat the process again and add the next vadai to the frying pan – depending on the size of the frying pan, 5-6 vadais can be fried at a time.
Note: There are various ways to make the vadais depending on levels of expertise but this is one that has worked for me.
Note from the Apprentice: The hardest part about making vadais was getting the shape right. My first few vadais came out misshapen and didn’t look anything like the proper ring shape. The problem appeared to be in tipping the vadai from the ziploc bag and onto the fingers of my free hand and then into the pan. The vadais started coming out better after I began cleaning my fingers and spreading a bit of oil on them after shaping each time. This arrangement allowed the vadais to fall off my hand into the frying pan much easier.
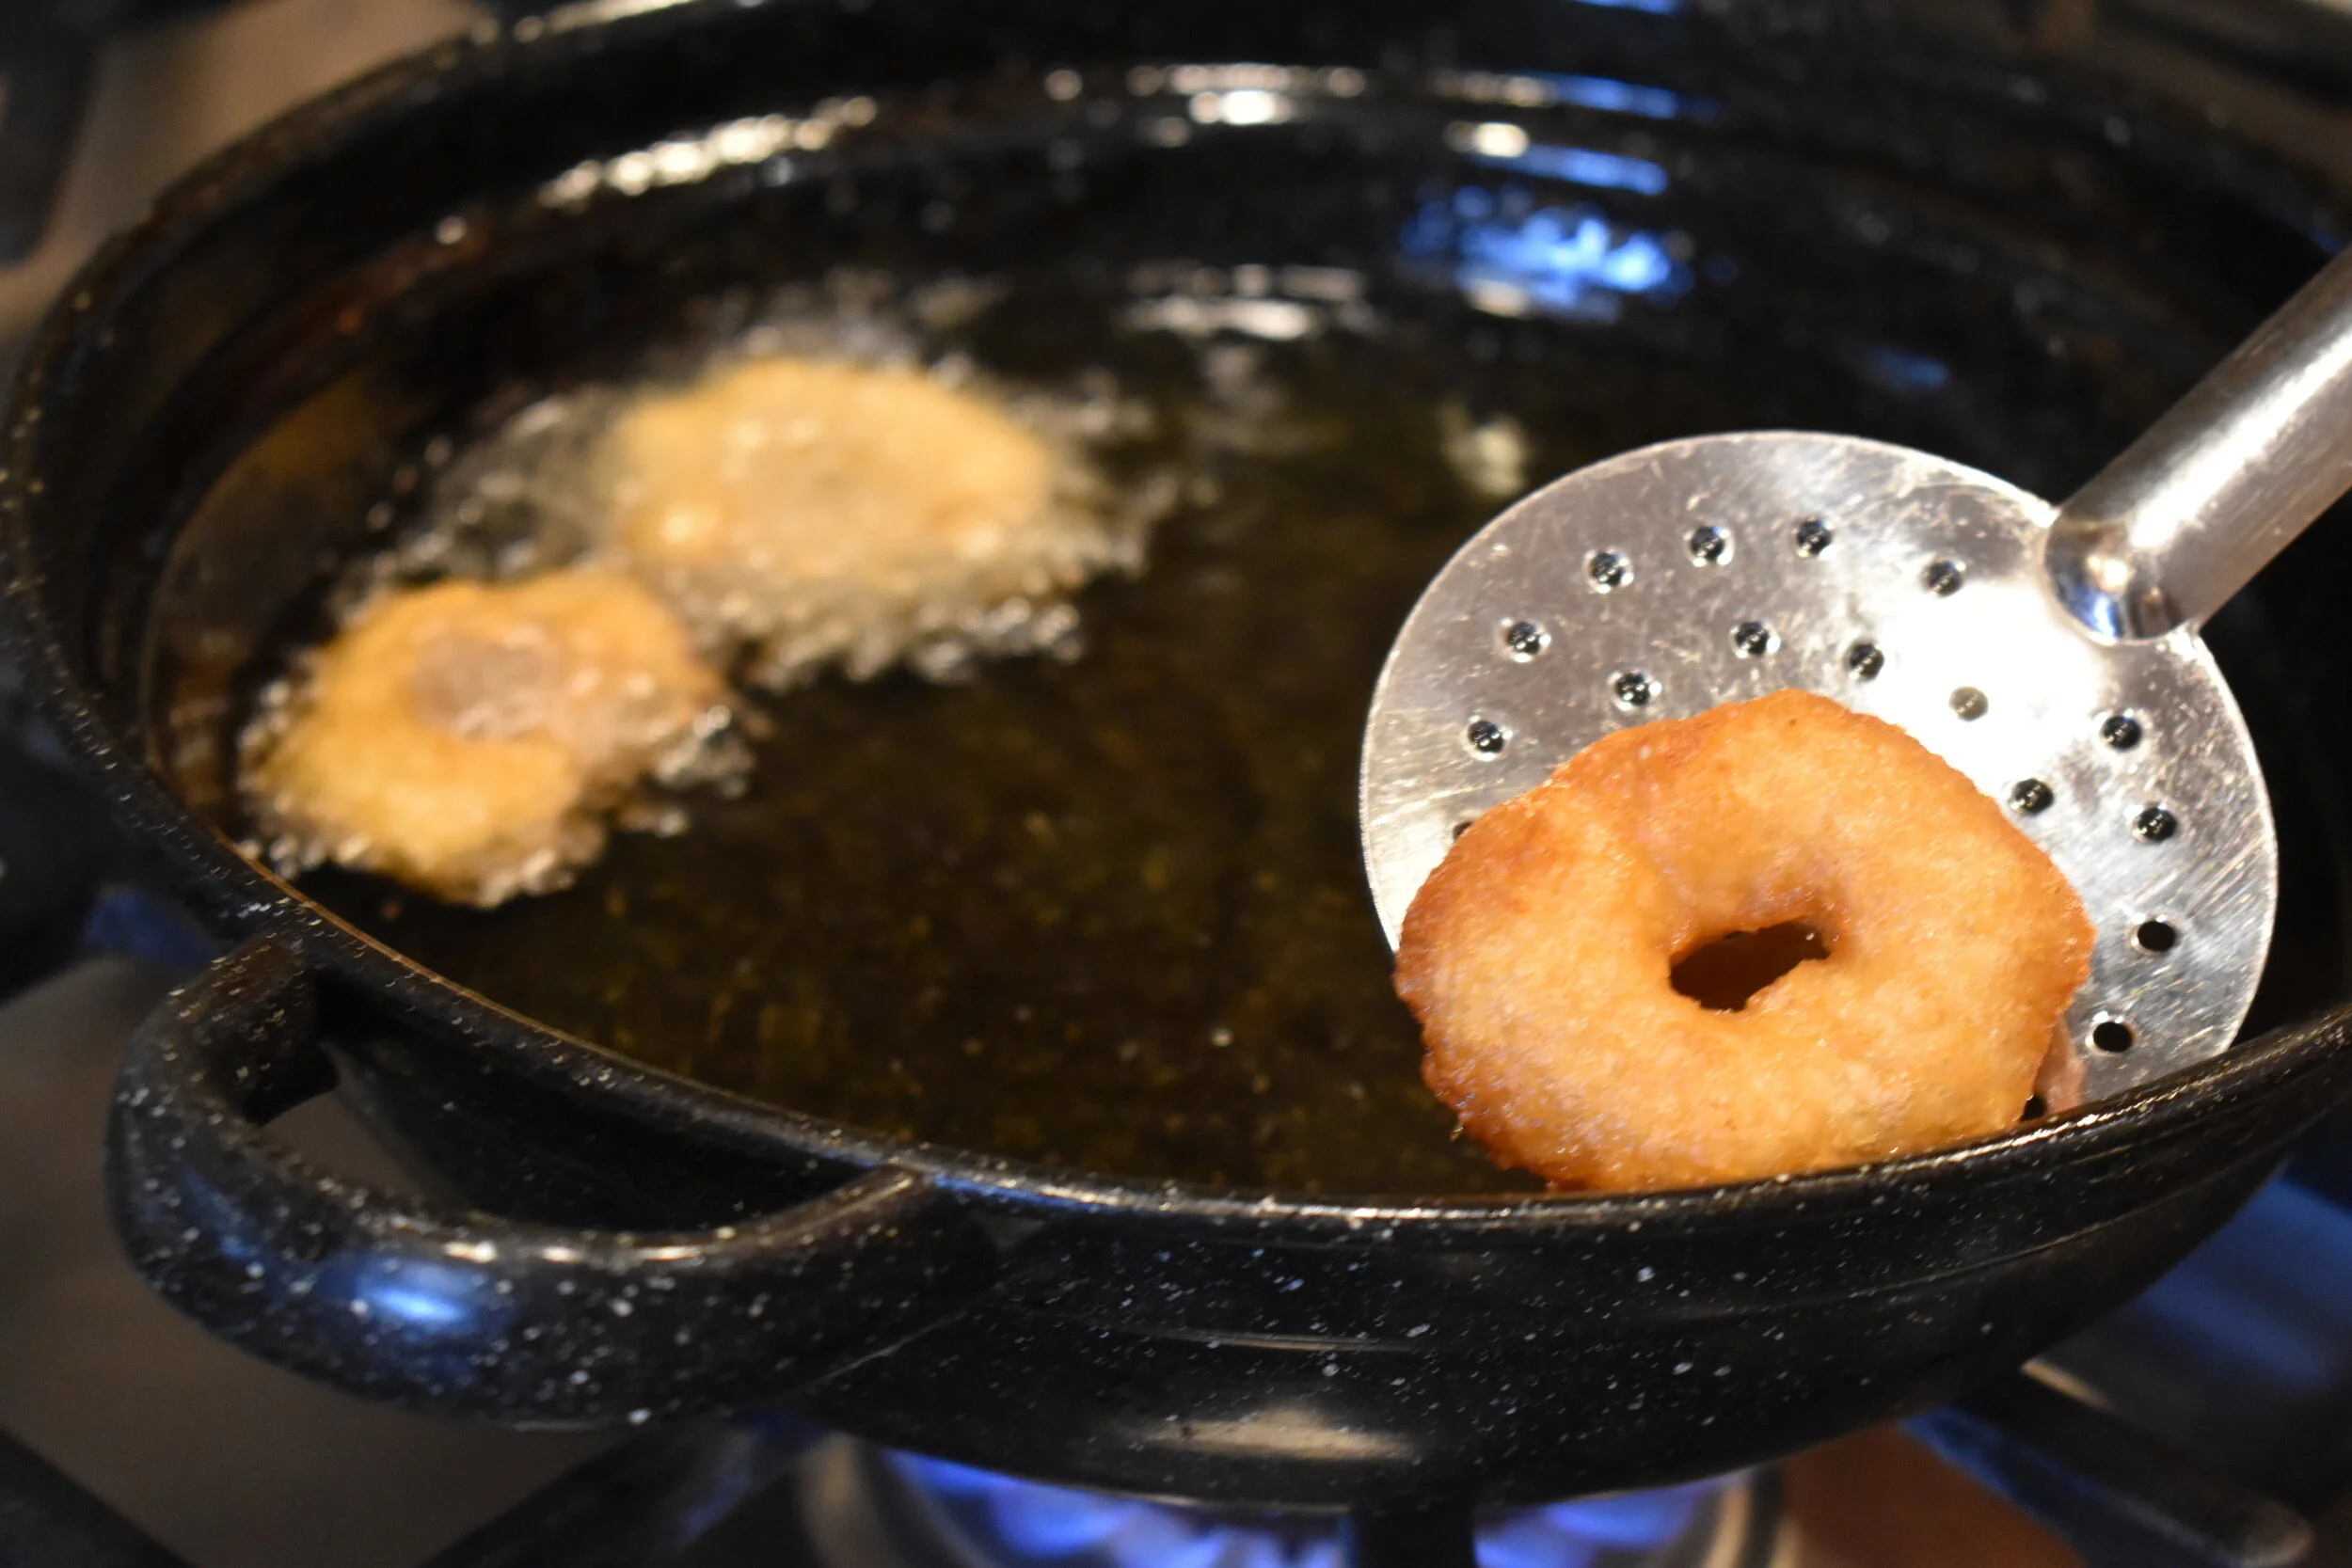
11. Fry each vadai until the bottom is slightly cooked and doesn’t stick to the spoon, then turn over and cook the other side.
Keep doing this until both sides are golden brown. Remove and serve hot with chutney / thuvaiyal of choice.
My children love to have their vadais with thakkali thuvaiyal.
Note: Taste the vadai once fried, if it requires additional salt, add it to the remaining batter.
Makes: About 30 vadais
Apprentice rating: Difficult, needs a few tries to get the shaping right.
Additional Notes:
If you don’t have a wet grinder, the batter can be blended in a blender / mixie. However, the soaking time must be increased to 4 hours, discard the soaked water and use ice cold water for blending. This is because the blender overheats the batter which may lead to the vadai soaking up too much oil while frying.
Other optional ingredients that can be added are grated carrot and minced, blanched spinach to make a vegetable vadai.
If the vadai soaks in too much oil while frying, add a tablespoon of cornflour or cornstarch and mix in. Similarly, if the batter is too watery and hard to shape, cornflour does the trick again.
Any leftover batter can be frozen for up to two months. To use again, defrost by leaving out for a couple of hours. The batter may become more watery on defrosting - if it does, add up to a tablespoon of cornflour to thicken again and then shape and fry as normal.
Recent Posts: