From Sundal Maami to Paniyaram Ayah…
As I look at the calendar to schedule the kids’ activities for the holidays, I realise it’s already the end of October, time for Halloween, a festival Ayah didn’t approve of, and Diwali, one she loved. Where has the year gone by? As I have said earlier, the festivities for Diwali started with Ayah dragging Aiyah for his annual sari shopping trip to Kumaran Silks in T. Nagar. No such luck this year, and so the darling daughters have resorted to some online shopping, the new favourite pastime – one neither parent would have approved of! How shopping habits, be it groceries or clothes or even white goods for that matter, have changed over the past eight months...
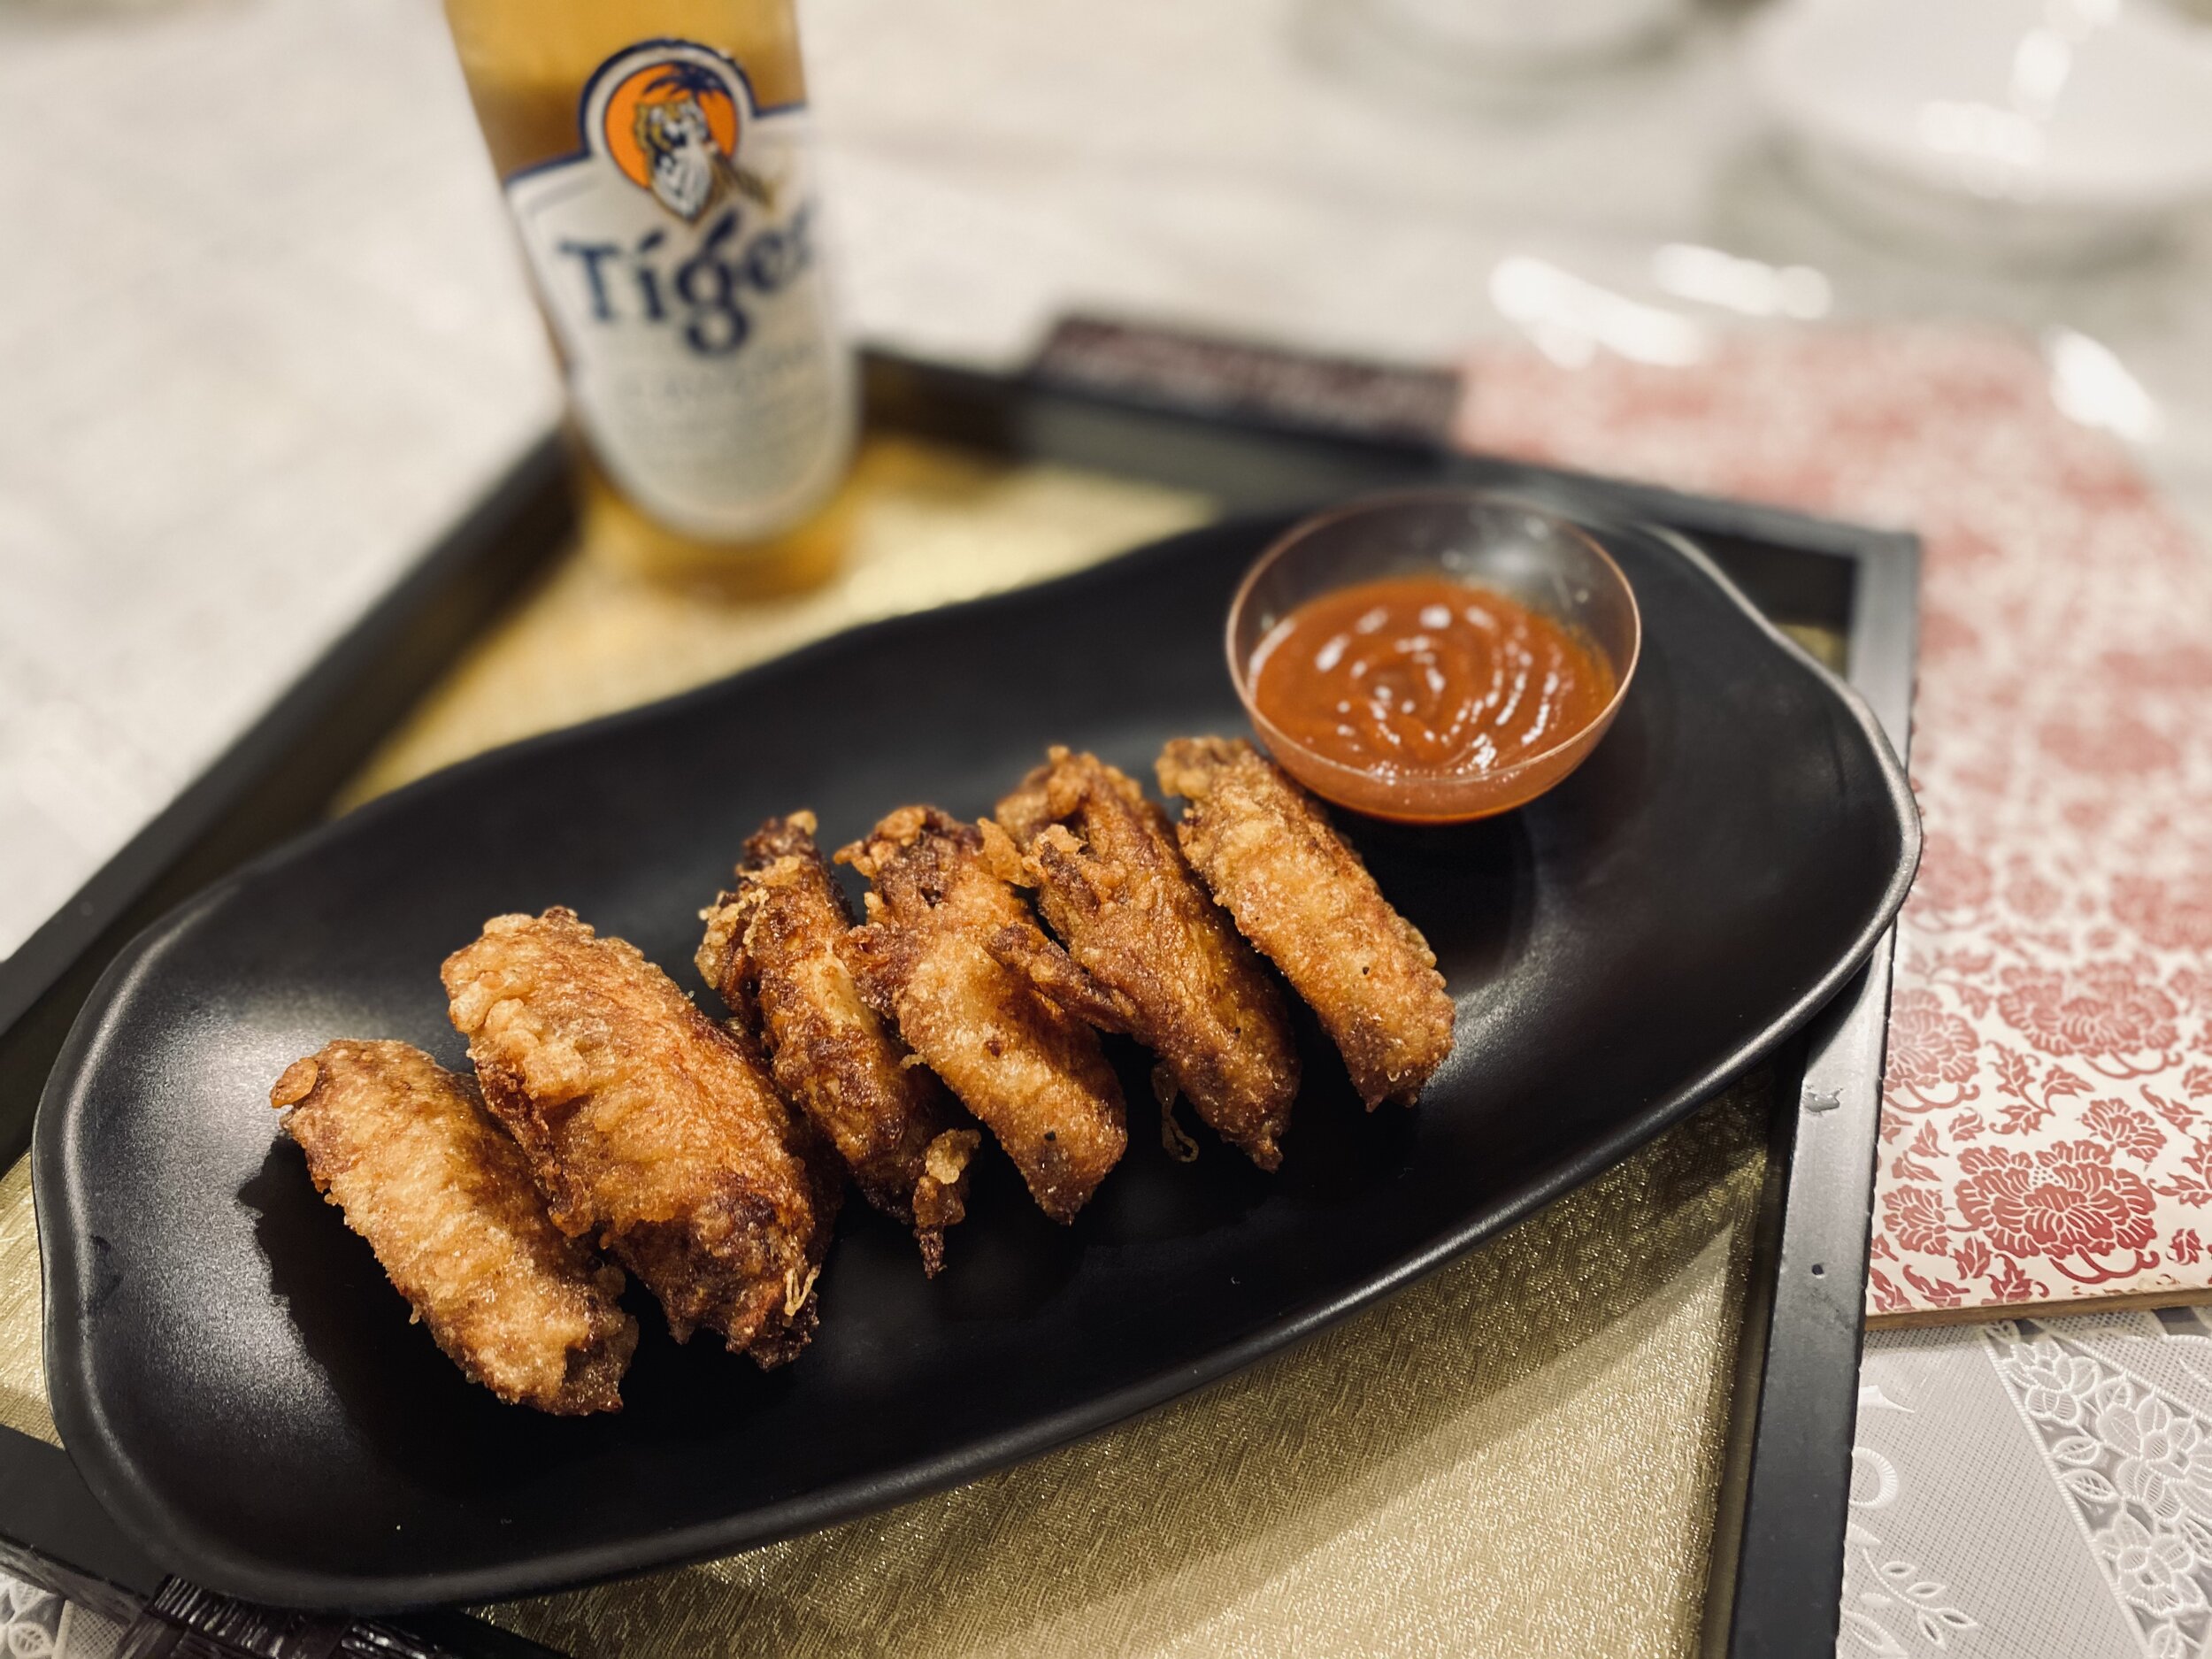
Anyway, with Diwali less than three weeks away, we bring to you the first of our Diwali recipes, another Chettinad special, one very close to Ayah’s heart – Vellai Paniyaram, and since Ayah’s favourite accompaniment for this dish was Vara Milagai Chutney, we give you the recipe for that spicy dried red chilli chutney too. Our young photographer has a special bond with vellai paniyaram – if the older brother’s, the apprentice’s, first request was salt n pepper fried vegetables, the lil man’s first request of Ayah was the deceptively simple, but addictive, flat white deep fried rice cake, which in most homes was reserved for special occasions, but in ours, was served on demand, at the drop of a hat... A cousin’s daughter referred to Ayah as Paniyaram Ayah because she made sure to put it on the menu every time the little girl, now a young lady, visited.
Many a young Chettiar bride has been defeated by this dish. According to my father-in-law, in days gone by, young Chettiar girls were tested on their mastery of vellai paniyaram making before they were certified marriage worthy. True story or not, I’m not sure, but Ayah made sure I had mastered the skill of pouring a perfectly round Paniyaram before I was married. The making of the batter was a different story though!
As a young bride who knew better than her mother, I asked many an Achi (a term referring to older women from the Chettiar community) in Australia how to measure and make this innocuous looking dish that our community was known for. The standard answer I got was, “olakku arisi eduthu, thalaiya thatti, kai pidi ulunda kumichu, oora vai”. Literally translated, take a cup of rice, tap the head, then take a handful of urad dal and heap it on the rice and soak both. Now, beautifully descriptive as this sounded, it made no sense to the novice. Whose head was I tapping? And what did a handful mean? My husband’s hand is bigger than mine, so how do I know whose hand to use? Questions abounded! Anyway, I finally resorted to Ayah’s simple method which was measuring raw rice to split urad dal in a 4:1 ratio and soaking it for a couple of hours – a method that has stood me in good stead over the years.
Just as Tamilians are Idli snobs, Chettiars are vellai paniyaram snobs, and the special rice for paniyaram was snuck into the oversized baggage that Achis visiting their progeny overseas carted. Once again, as with idlis, a wedding meant dozens of varieties of rice was tested before THE rice was selected. However, I found that the regular variety of raw rice (fully polished rice as opposed to parboiled rice), whether it is Ponni Pacharisi or Sona Masoori, found in most Indian stores suffices. I have also used long grain rice, however, while it is a fairly close substitute in a pinch, the texture is compromised slightly.
While my demanding little ones and the young photographer love paniyarams, I will say that it is not a recipe for all. I remember, at my wedding reception, a colleague of mine congratulating me on a wonderful feast served, except for that little white pancake served with a red chutney – it had no flavour at all! I think the apprentice is of the same mind, and it was a measure of his true love for Ayah, and his younger brother, that he was finally convinced to test both the recipes for this week. But to both him, and my colleague, I refer them to the outrage that ensued when some poor unsuspecting soul criticised the humble idli... beware, the collective wrath of a 100,000 Chettiars worldwide may be on you!
So, the burning question at the end of all this, is whether the young apprentice has been certified marriage worthy?! Well, the jury is out, the young man’s skills still need some work... He’s back at college (virtual), but maybe the kitchen master can be convinced to work on his training. In the meanwhile, we bring to you Paniyaram Ayah’s Vellai Paniyaram and Vara Milagai Chutney.
Curious about what our Diwali menu was? Check out this post about our Diwali experiences, where I also post the recipe for ulunda vadai. We will be posting the rest of the dishes over the next couple of weeks.
Note:
1. This recipe is best made with raw rice like Ponni Pacharisi or Sona Masoori, found in most Indian stores. I have also used long grain rice in the past, however, while it is a fairly close substitute in a pinch, the texture is compromised slightly.
2. This recipe makes about 30 paniyarams. You could store the undiluted batter in the fridge for about a week and pour as required. Alternatively, you can also halve the recipe.
3. The consistency of the batter and the pouring method are slightly complicated, so I recommend that, before you attempt the recipe, you watch this video.
Ingredients:
2 cups raw rice (any variety like Ponni Pacharisi or Sona Masoori)
½ cup split urad dal
Water to soak and grind (about 180 ml, to add as required)
60 ml milk to grind (to use while grinding and to dilute the batter as required)
Salt to taste (about 2 tsp)
~ 400 ml vegetable oil (or any oil like sunflower oil) to fry
Method:

1. Soaking — wash the raw rice and urad dal well and soak together for 2 hours.
2 cups raw rice
½ cup split urad dal
Water to soak and grind (about 180 ml, to add as required)
2. Grinding:
60 ml milk to grind (to use while grinding and to dilute the batter as required)
Salt to taste (about 2 tsp)
i) Drain the rice and dal and reserve the soaking water to use for grinding as required.
ii) Grind the ingredients using a wet grinder or a blender, start with 30 ml of milk and about ½ cup (~90ml) of the soaking water. If using a blender, you will need to blend in two or more batches depending on the size of your jar.
iii) Grind until batter is smooth — this will take about 30-40 minutes in a wet grinder, much less in a blender. Add more water (but cautiously) if required during the grinding process – the desired consistency should be smooth and similar to pancake batter, pourable with a spoon. Check video for consistency.
iv) When the batter is ready, add the salt and let the grinder / blender run for a few more seconds for the salt to mix in.
v) Transfer the batter to a container. Cover the container and chill in the refrigerator for about 30 minutes.
3. Making the Paniyarams:
~ 400 ml vegetable oil (or any oil like sunflower oil) to fry

i) To make the paniyarams, selection of equipment is very important. You will need:
a small frying pan, slightly rounded at the bottom (I use an appachatty that I reserve for this purpose);
a slotted frying spoon; and
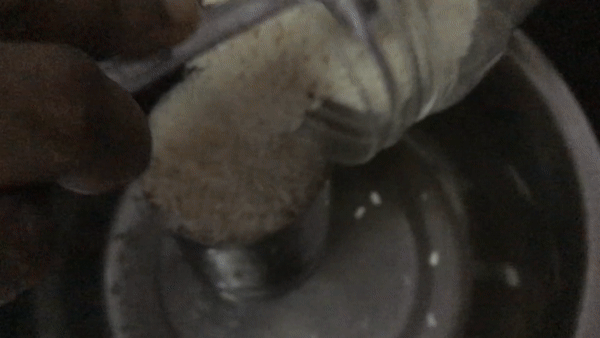
a paniyaram pouring spoon. The pouring spoon is a flattish ladle about ½ inch deep with a diameter of about 1.5-2 inches. The shape and size of the pouring spoon determines the shape of the paniyarams.
You will also need a paper lined plate to drain the oil from the paniyaram once fried.
ii) Fill the pan with oil until it is just over the halfway mark and heat.
iii) Take the paniyaram batter out of the refrigerator and check the consistency. It would have thickened up, so add the remaining milk, a little at a time, to bring it back to pouring consistency. I usually work in batches so if I over-dilute I can add some more batter and thicken it up. Check video.
v) Once the oil is heated, turn the stove to medium heat, mix the batter with the ladle, using a whipping motion. Then take a ladleful of it and pour carefully in the centre of the pan, from about a ½ inch from the top of the oil. Make sure there are no batter drips in the oil. Use the frying spoon and gently move the hot oil over the paniyaram which should now appear cooked and start to puff up. Once it puffs up, turn it over and cook for a few seconds on this side too, then take out and drain the oil. The perfect paniyaram must be white (not golden brown) and perfectly round with frilly edges when taken out.
vi) Break one open and there should be no sign of any uncooked batter. If there is, you will need to dilute the batter a bit more. But remember to do it a drop at time, otherwise the batter will become unusable. Taste and add more salt to the batter if required.
vii) Mix the batter again and repeat the process until you make as many paniyarams as you need. Remember to mix the batter before each pour. Also remember to regulate the heat – if the paniyaram starts turning brown, reduce the heat to low / turn off for a bit.
4. Serve hot with vara milagai chutney or thakkali thuvaiyal or even idli milagai podi.
Note:
1. Paniyarams are notoriously difficult to perfect on the first try. If the paniyaram drinks too much oil or turns into a ball (with or without uncooked batter in the centre) instead of remaining flat with a slightly raised centre, it may be because you have added a tad more urad dal or your urad dal is not fresh. To rectify, add a tablespoon of rice flour or idli batter and mix well.
2. If the paniyaram has an uncooked centre, dilute the batter slightly more. But remember to do it a drop at a time, otherwise the batter will become unusable. I usually work in batches so if I over-dilute I can add some more batter and thicken it up.
3. The temperature of the oil is very important while pouring the paniyarams. I once heard someone say the first couple of pancakes are a dog's breakfast - so too for paniyarams. The first couple may not rise up, or may puff up too much or have an uncooked centre - adjust as specified and by the third one or fourth one, you should be good to go, and once you are, maintain a steady heat.
3. Leftover batter? You could store the undiluted batter in the fridge for about a week and pour as required. Alternatively, you can also halve the recipe.
4. Leftover paniyarams? Store in the fridge and reheat - Ayah's favourite way of reheating was steaming for abour 4-5 minutes.
Makes: 30 paniyarams
Apprentice Rating: Hard - making a passable paniyaram is manageable, but a perfect, frilly one without a doughy centre is a different story.
Recent Posts: