Panju maadhiri, malligai poo pola idlis…
Say South Indian breakfast? Is it a plate of steaming hot, soft and spongy, perfectly white idlis served with sambhar and chutney, accompanied by frothy filter kaapi (coffee is too mundane a word for this!) in a davara and tumbler (the South Indian version of a cup and saucer) that comes to mind? You’d be spot on!
The pride and joy of every South Indian kitchen is its idli batter – the litmus test being whether the end result was panju maadhiri, malligai poo pola (soft like cotton wool and white like jasmines) steamed rice cakes. Most South Indian women, at least in days past, were taught at the cradle (well, almost) how to make the batter for this savoury breakfast.
Ayah had spurned her kaapi addiction as a teenager, but her affection for idlis was for life. She was an idli snob, who believed that to get the texture right, you absolutely, certainly, HAD to grind the batter in that prized possession of every South Indian household worth their idlis, a wet grinder! Not for her the blender, which apparently produced kallus (rocks)!
So, when this darling daughter, who’d graduated from university in America and moved to Australia as a young bride minus her dower of a wet grinder, was due to host Ayah for the first time, battle ensued. I had the temerity to ask, “Why can’t you just make the batter using a blender?” Threatened with a no-show, all for the sake of idlis, and thanking my stars that she hadn’t asked me to get an aatukallu (a stone grinder which is a ginormous version of the mortar and pestle, the precursor to the mechanised wet grinder), dutiful hubby was despatched to the nearest Indian store to find a suitable grinder, one which has since made it to Singapore. Speaking of which, I’m not sure if this true of every Indian household overseas, but my kitchen is overflowing with equipment, reusable bottles which once held pickles but now ready for spices and other such things, and stainless steel utensils in various sizes, shapes and forms. Though Ayah thought our kitchen was woefully under stocked, the movers who came to help us move from Australia to Singapore were astounded by the sheer volume of things!
Back to the hero of our story, the idlis. Wet grinder installed, the next step is the selection of rice, which is a whole saga in itself. The hosts at a recent wedding I attended, idli connoisseurs like my mother, admitted to testing at least 10 varieties of rice before they selected THE one. Up until the early 2000s, Indian stores in most countries overseas did not cater to South Indians. The result was that anyone who treasured their spongy rice cakes lugged idli rice by the kilo, paying a fortune in extra baggage, to their destinations – and if that happened to be Australia, watched said rice being trashed because it was a danger to their agricultural economy! You can imagine Ayah’s plight.
Next is the grinding and fermenting of the batter. Today there are many instant recipes but traditionally, the batter is made by soaking parboiled rice and urad dal (black gram dal / ulundam paruppu) for 6-8 hours, grinding the two and fermenting the batter for another 6-8 hours. The fermented batter is finally ready to be made into idlis. That this deceptively simple looking rice cake required so much time to make was a mind boggling concept for my rather innocent 11-year old, who was helping me grind batter one evening.
Me: “Why have you not had dinner yet?”
My darling little girl: “I’m waiting for the idlis…”
Me: “Hmmm… It won’t be ready until tomorrow!”
My darling little girl, with a priceless expression: “Oh!”
Poor baby!
Today, the modern family has graduated from making the batter to store-bought versions, something Ayah would have shuddered at. The apprentice though, ever-faithful to Ayah, chose to go the whole hog and made the batter from scratch. His first attempt was WAY better than his mother’s, whose tryst with idlis began on a cold, wintry day in Pennsylvania. Following Ayah’s instructions, she put the batter to ferment in a preheated oven, but forgot to turn it off. There it stayed overnight - safe to say, the idli cake that came out of the oven was not panju maadhiri and did not make it to the table at the party she was hosting! Obviously, Ayah had not trained her daughters from the cradle!
We hope you try this recipe and your idlis turn out as white as the malligai poo and as soft as panju! At the end of the recipe, we also have some tips on jazzing up the humble idli, so read on.
Notes:
Most Indian stores today stock idli rice – a plump, short grained, parboiled rice. However, if your local store does not stock it, any parboiled rice will do – the texture may not be as soft and spongy. Do not use raw rice / basmati rice / jasmine rice or any other variety used to make steamed rice as they are too starchy.
This recipe calls for a wet grinder, however, if you don’t have one, you can ignore Ayah’s instructions and use a blender. I did for about 5 years of my married life! Recipe modifications at the end of the recipe.
If the 50-60 idlis that this recipe makes is too much for you, you can definitely halve the recipe, but even better, save yourself some time, make the whole lot and follow our tips at the end of the recipe to find out what you can do with leftover batter / idlis.
Ingredients:

4 cups idli rice (washed and soaked for 6-8 hours)
1 cup whole urad dal (black gram dal / muzhu ulundam paruppu, washed and soaked for 6-8 hours)
Water to soak and grind
Water to steam
Salt to taste (about 2.5 - 3 tsp)
Optional:
½ cup flattened rice (aval / poha), soaked for about half an hour (helps make the idlis soft)
Method:
1. Soaking the rice and dal:
i) Wash idli rice well (2-3 times) and soak for 6-8 hours. In a separate dish, wash the urad dal and soak for 6-8 hours. The soaking water must be ½ inch above the rice / urad dal.
4 cups idli rice (washed and soaked for 6-8 hours)
1 cup whole urad dal (black gram dal / ulundam paruppu, washed and soaked for 6-8 hours)
Water to soak and grind
ii) Half an hour before grinding, add the aval / poha (if using) to the idli rice and continue to soak.
Optional:
½ cup flattened rice (aval / poha), soaked for about half an hour (helps make the idlis soft)
2. Grinding and fermenting:
i) Drain the urad dal and reserve the soaking water.
ii) Grind the urad dal first in the wet grinder with about ½ cup of the soaking water. Grind until the batter reaches a fluffy consistency, almost like a souffle – this will take about 30 – 40 minutes. Add more water if required during the grinding process.
iii) Remove the urad dal batter from the grinder and transfer into a deep container (most idli batter containers will be about a foot deep and 6-8 inches wide to allow enough room for the batter to rise).


iv) Next drain the idli rice (with poha if using) and reserve the soaking water.
v) Grind the rice (and poha) with about 2 cups of the soaking water. Grind until batter is smooth - this will take about 20-30 minutes. Add more water if required during the grinding process – the desired consistency should be similar to pancake batter, pourable with a spoon.
Note: You do not need to wash the grinder after grinding the urad dal


vi) Once the batter is ready, transfer it to the container with the urad dal batter.
vii) Add salt, and use your hand to mix the batter in a beating motion (almost like a whisk). Messy as it is, stick to using your hands as, apparently, it helps with the fermentation process. Add more water at this stage if the batter is too stiff. The desired consistency should be similar to pancake batter, pourable with a spoon.
Salt to taste (about 2.5 - 3 tsp)
Note: Make sure your container is only half full - if you have more batter, transfer to a larger container.


viii) Cover the idli batter container tightly, put something heavy on top the lid make it airtight, place on a big plate (to catch any batter if it over ferments), and store in a warm place to ferment for at least 8 hours or overnight.
Note: In cold weather, preheat the oven to 100 degrees centigrade (212 degrees fahrenheit) for about 10 minutes, turn off the oven and store the batter in the warm oven. Remember to TURN OFF the oven before putting the idli batter container in.
ix) Once it is fermented, the batter will rise to about double the size or more and have a slightly sour smell. It is now ready to use to make idlis and dosais.
3. Making the idlis (watch the video if you’re using a perforated idli plate):

i) You will need an idli steamer with an idli plate (perforated or non perforated), a ladle to scoop the batter, a small plate to set the ladle on, 2 dinner plate sized plates to help with unmoulding the idlis. If using a perforated idli plate, you will also need a muslin cloth a bit larger than the size of the idli plate.
ii) Fill the idli steamer with water up to about the ¼ mark.
iii) If using a perforated idli plate, line the plate with a wet muslin cloth before pouring the idlis in them. If using the plate without perforations or using the mini idli plates, grease the plates with oil spray and wipe off any excess oil with a paper towel (you can also use a paper towel / cloth soaked with oil to grease the plate).
iv) Once the water in the steamer is boiling, scoop the batter with a deep ladle and pour in the idli plate, about a ladleful for each hole. Scoop from the sides of the container, not the centre, and do not mix the batter as it will deflate.
Note: Once you pour the first batch of idlis, place the ladle on a plate. Do not rest it in the container of batter as it will deflate the batter.
v) Place the idli plate on top of the steamer ensuring the idli cloth is inside the steamer (else it may catch fire). Make sure not to mix the batter while pouring else the idlis will lose their fluffiness.
vi) Cover and steam for 8 minutes.
vi) If using a perforated idli plate:
Take out the idli plate and invert it onto a dinner plate. Remove the idli plate, the idlis covered with the idli cloth will now be on your plate.
Sprinkle the cloth with water and peel it off from the idlis.
Before making the next plate of idlis, rinse the idli cloth to make sure there are no particles stuck to them.
If using an idli plate without perforations, remove it from the steamer and let it cool slightly. Then just pry it out gently starting from the sides.
vii) To make the next batch of idlis, add more water to the steamer to bring it back to the ¼ mark and ensure the water is boiling before putting the idli plate on. Do not mix the batter.
Your steaming hot panju maadhiri, malligai poo pola idlis are ready. Serve served hot with sambhar and chutney / thuvaiyal or podi and nallennai (gingelly oil).
Makes: ~50 - 60 idlis
Apprentice rating: Medium (the nuances of grinding the batter takes practice, but once you have the batter ready, the rest is a breeze)
Notes:
If you’re using a blender instead of a wet grinder, the ingredients and the proportions will remain the same, but there is a slight difference in grinding method. This is courtesy my mother-in-law. Grind the urad dal first, remove and transfer to a deep container. Grind the rice in batches and for every batch you grind, add a handful of the urad dal batter. This increases the fluffiness to acceptable levels. The rest of the process remains the same.
This makes a lot of batter - can I make less? Yes, you can halve the recipe. However, since it is a long drawn out process, you can save time by grinding the whole lot but fermenting in batches. For this, once ground and mixed:
Split the batter into two tall containers.
Add salt to the batter you want to ferment, mix again and follow the rest of the process.
Put the other container of batter in the refrigerator to be fermented at a later date – it will store for about two to three days. Do not add salt at this stage as salt speeds up the fermentation.
To ferment stored batter, take it out of the refrigerator, bring to room temperature (putting the container in a bowl of lukewarm water will help speed up the process), add the salt and ferment as normal.
You can also store any leftover fermented batter in the refrigerator and make fresh idlis over the next couple of days. When you’re ready to make the next batch, take the batter out of the refrigerator and let it come to room temperature before pouring again (putting the container in a bowl of lukewarm water will help speed up the process). The fluffiness will be reduced slightly though.
Another alternative is to use leftover batter to make dosais, uthappams or kuzhi paniyarams. Dilute and mix the batter to a thick pouring consistency (like pancake batter), add a pinch of salt and pour as required.
Do not store fermented batter for more than 2-3 days though as it will over ferment and turn too sour for use.
What I often do is use all the batter to make idlis and store them in the refrigerator and steam again to heat. Alternatively, you can try any of the variations below - all of them are great to make with refrigerated idlis.
Idli variations:
Podi Idli:
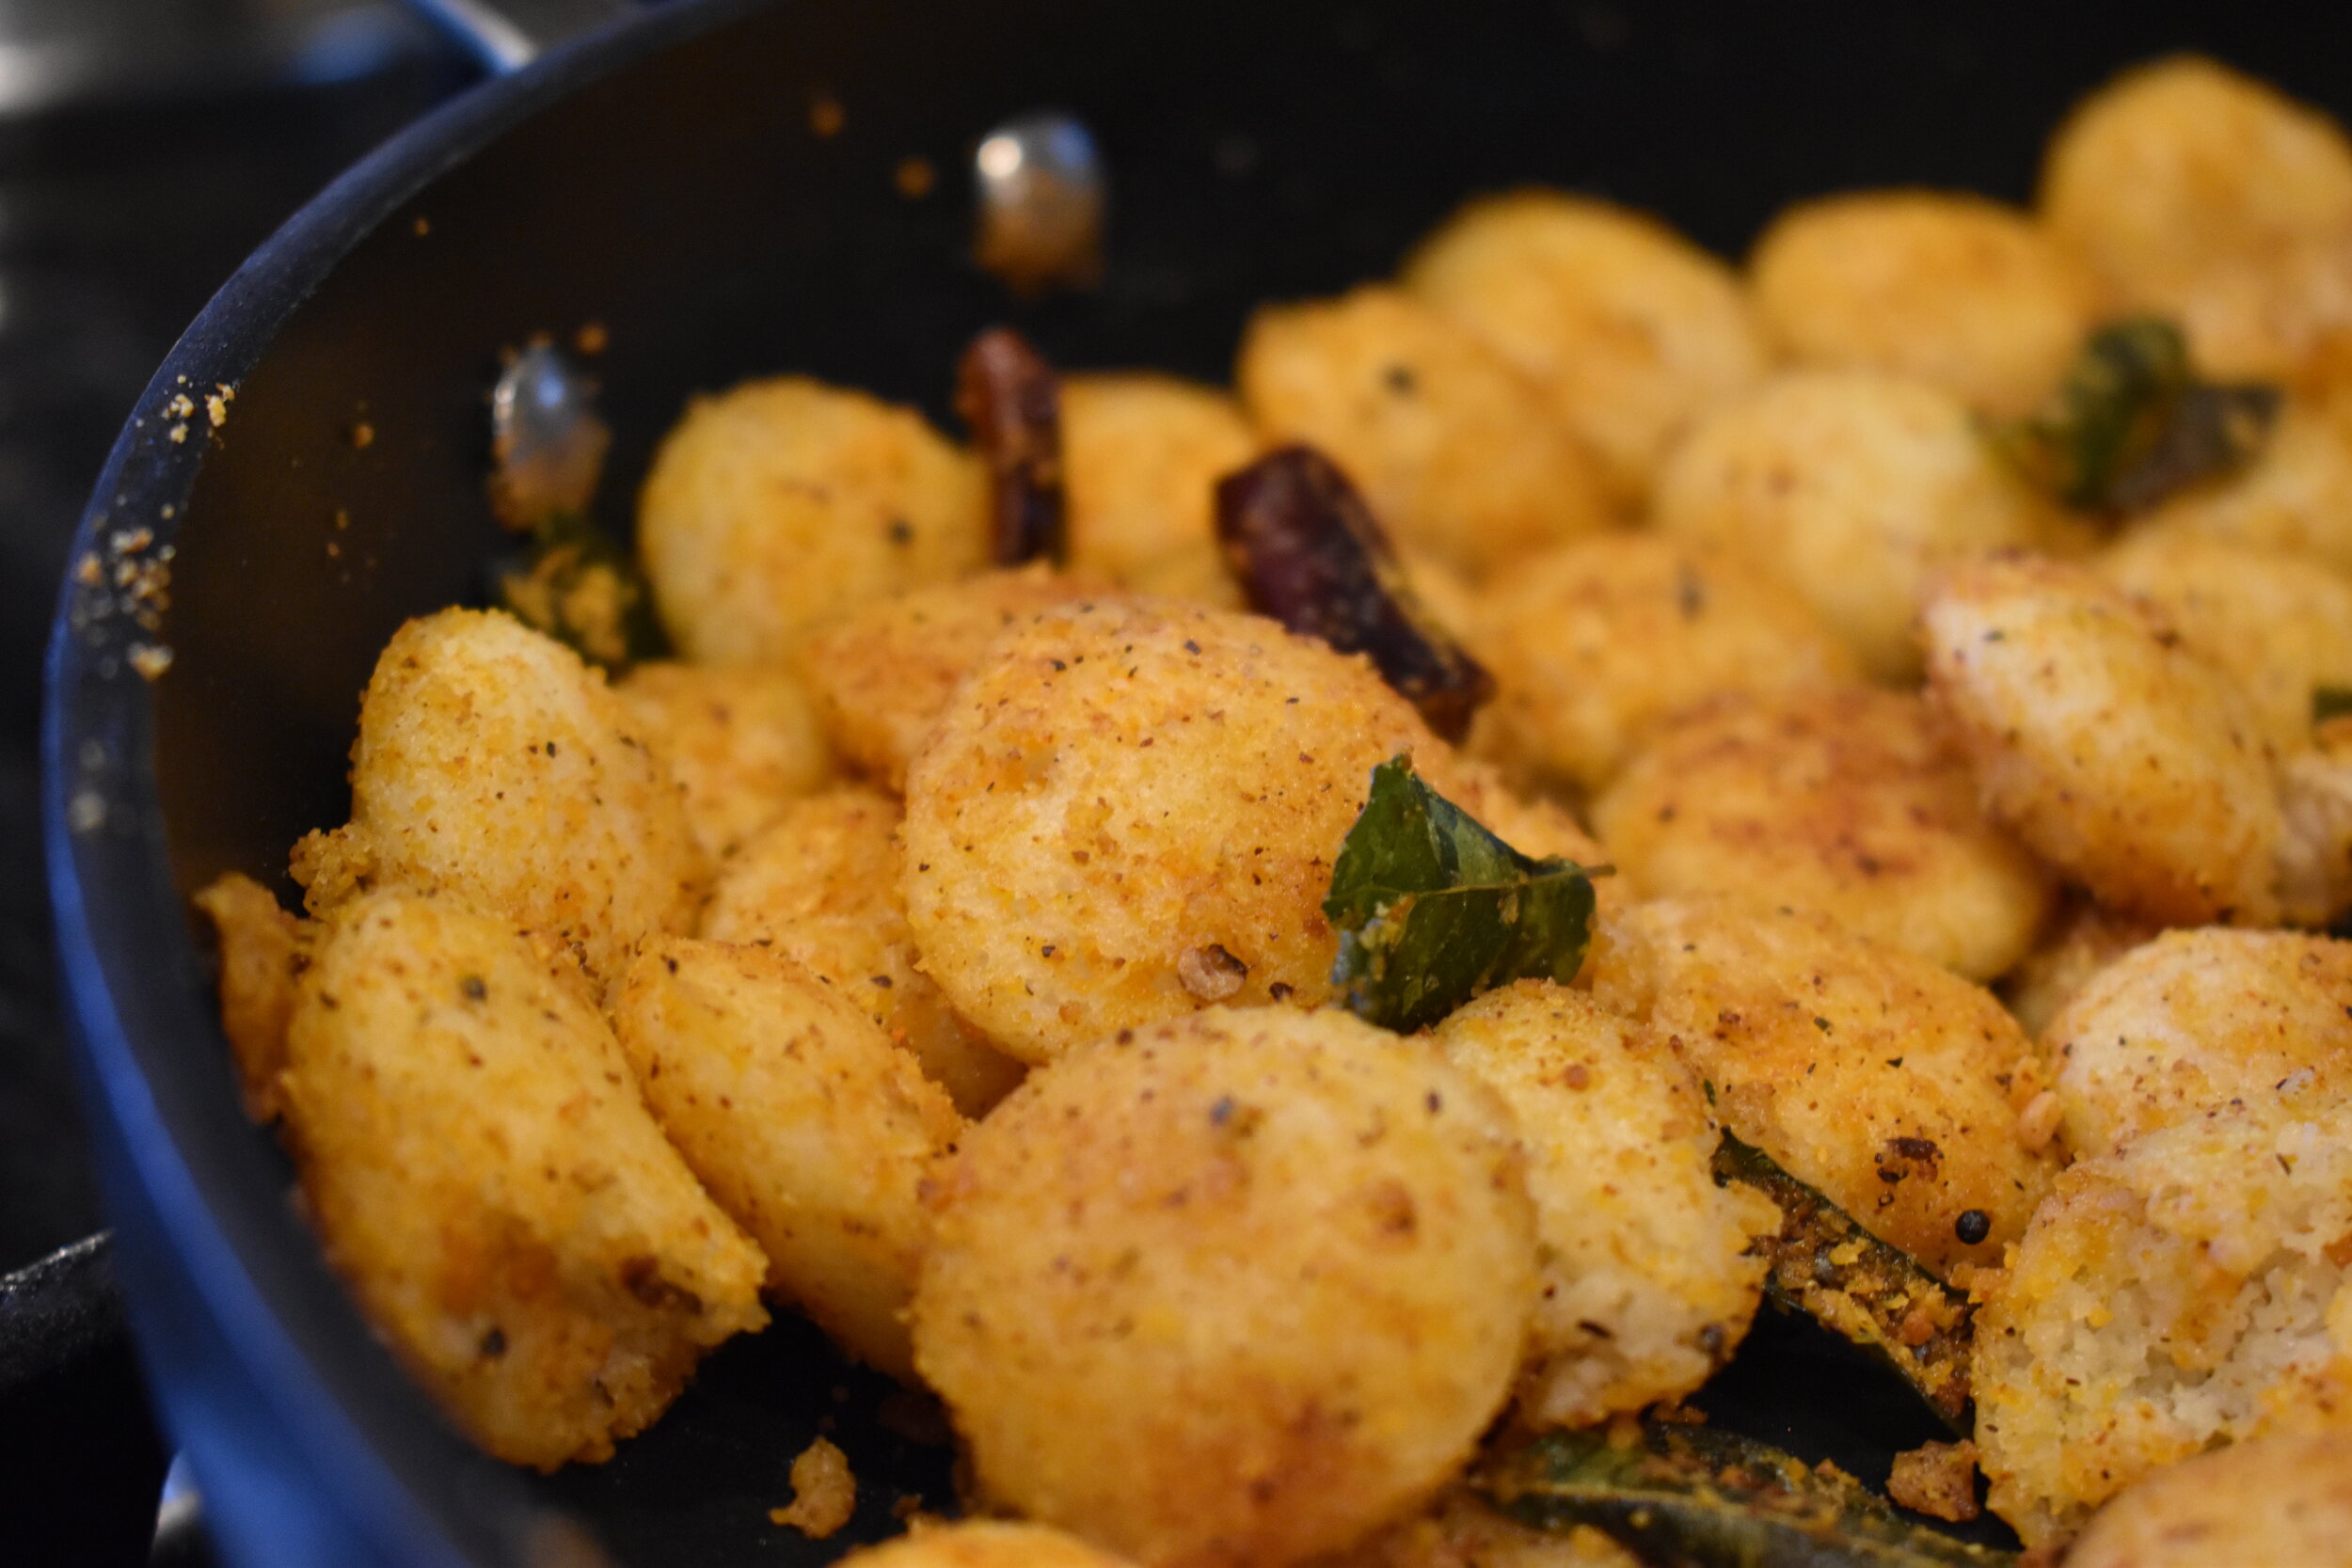
Make as many mini idlis as required. I like to make this with mini idlis because it’s one of the childrens’ favourites, but you will need a mini idli tray. However, if you don’t have one, cut up the big idlis into ¾ inch cubes. Make sure the idlis are at room temperature.
Heat up some gingelly oil (nallennai) in a frying pan, add mustard seeds and urad dal. Once it splutters add a squeeze of asafoetida (hing), a broken dry red chilli and some curry leaves. Add the idlis, stir for a few seconds till they are heated through and the tempering is mixed evenly. Then add idli podi to taste, mix and serve hot. You could also add some ghee to top it off.
Sambhar Idli:

Photo Credit: Chidam C
You can use either mini idlis or big idlis cut into ¾ inch cubes. Make sure the idlis are at room temperature.
Heat up some oil in a frying pan, add mustard seeds and urad dal. Once it splutters, add a squeeze of hing, a broken dry red chilli and some curry leaves.
Add the idlis, stir for a few seconds till they are heated through and the tempering is mixed evenly.
Pour enough sambhar to cover the idlis, add some ghee and mix (don’t overmix or the idlis will break up and become mushy).
Serve hot, garnished with coriander leaves and some more ghee.
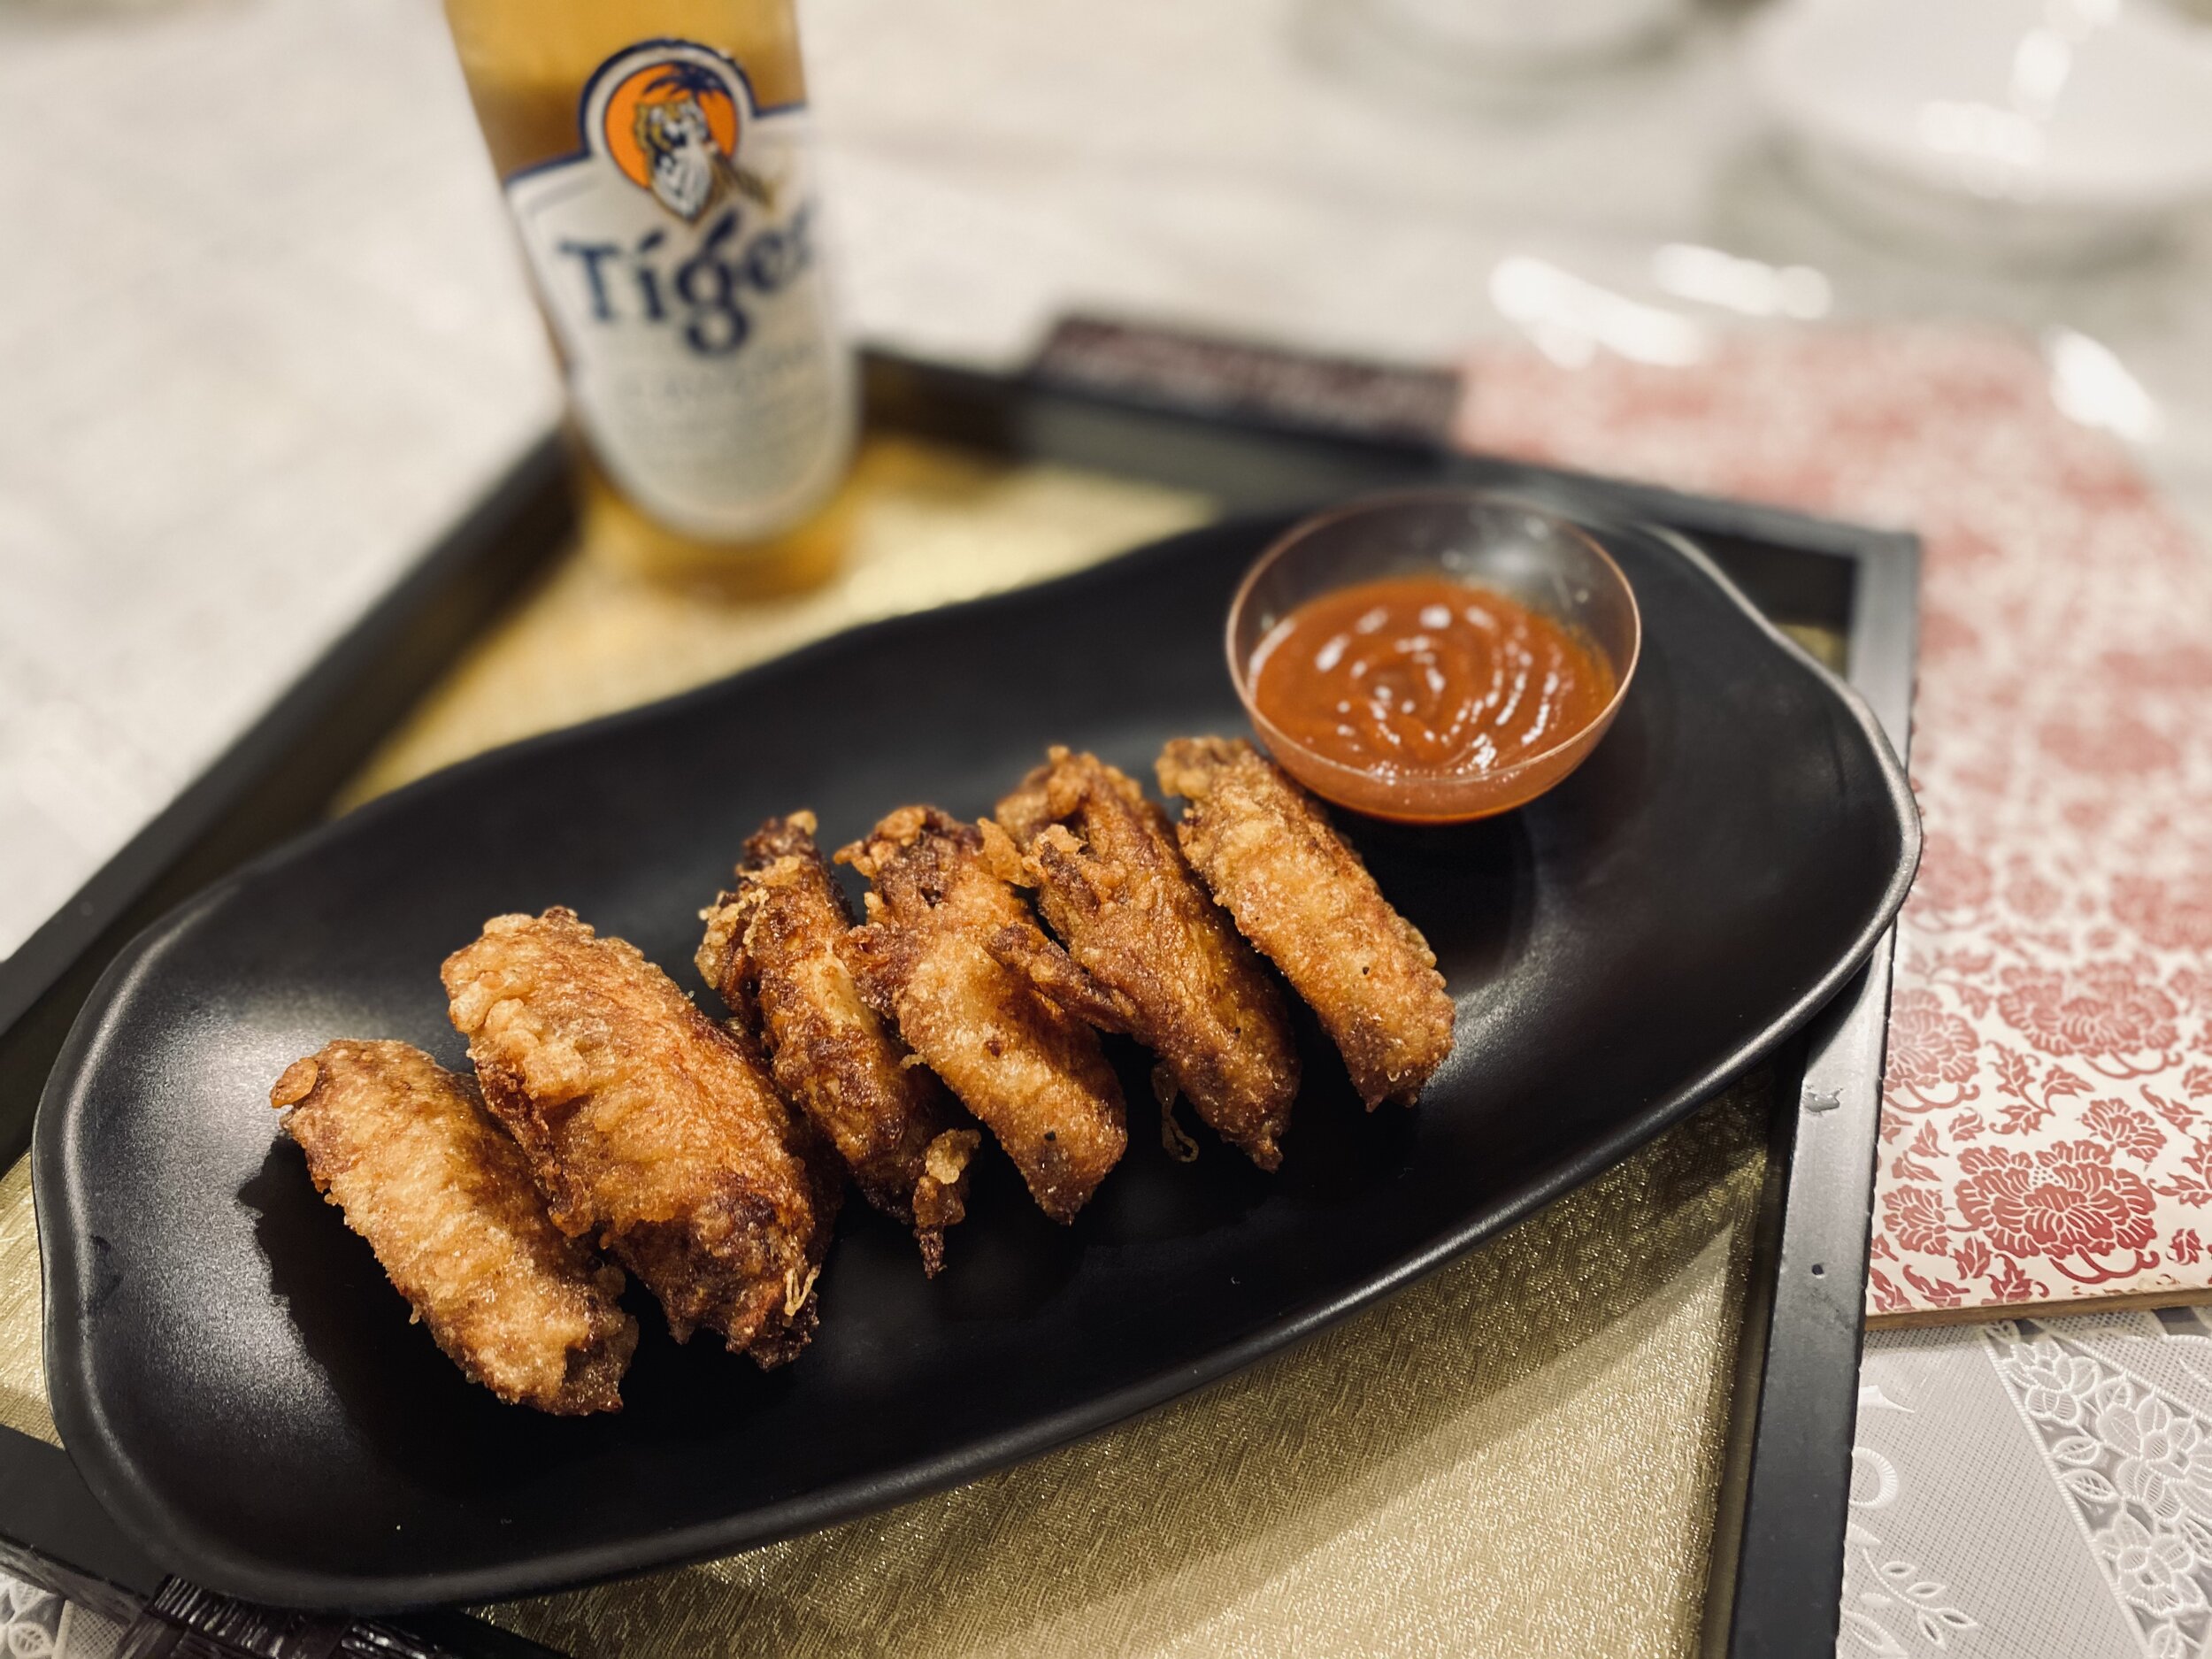
Fried Idli:
Cut cold idlis into ¾ inch batons and deep fry them. Drain and toss with salt and chilli powder. Serve hot as an evening snack.
Thalitha Idli:
Cut the cold idlis into ¾ inch cubes. Sprinkle some salt water on them.
Heat up some oil in a frying pan, add mustard seeds and urad dal. Once it splutters add a squeeze of hing, a broken dry red chilli and some curry leaves. You could also add some minced onions.
Add the idlis, stir for a few seconds till they are heated through and the tempering is mixed evenly. Serve hot.
Carrot Idli:
Slice some carrots into fancy shapes. Ayah used to slice them into thin flowers.
Place a slice of carrot on top the idli cloth, one in each hole. Pour the batter on top of the carrot. When the idlis are demoulded you will have a pretty carrot sitting on top of each white fluffy idli – a pretty sight for a party.
Recent Posts: