Birthday fun with a classic Butter Cake
Birthdays at the Muthiah household were always special occasions. While the darling daughters’ birthday parties had fancy cakes bought from patisseries and even fancier tidbits like cheese balls, spring rolls, prawn tempura and vol-au-vents made by Ayah, Ayah and Aiyah’s birthdays were celebrated rather simply but made special with a made-from-scratch minimally decorated basic vanilla butter cake, also known as a pound cake. Ayah wasn’t a fancy cake decorator, but she did make a mean buttercream icing and always, always decorated her cakes with colourful buttercream stars topped with Cadbury’s Gems (like M&Ms) — a gem adorned star a year was the count. I, unfortunately, don’t have a picture of the cakes she made, but will update this post when I find one.

No, not mine - Ayah’s record book from her bakery class and her first written down recipe from nearly 50 years ago…
Ayah, as a young bride, was convinced by her sisters-in-law to join them in a bakery course at what was then the only culinary school in Madras, my alma mater, the Catering College (now Institute of Hotel Management) in Taramani. I still have her torn and tattered record book from that bakery class, the first recipe listed in it was this cake’s. In later years, she used the record book to write down the few recipes that she actually did jot down. Incidentally, years before I entered the college, she made me practice my handwriting in said record book, not tattered as much then, by copying down random recipes from the food columns of various magazines – I may just have been fated in my choice of career, you say?
While the cake was a delicious part of birthdays, the more amusing story is about their birthday celebrations. It so happened that their wedding anniversary and both their birthdays were within a few weeks of each other – in March and April. So, every year, in early March, the rather unworldly Aiyah would trek off to the only sari boutique he knew in Madras (he didn’t have the patience for the larger shops) and would buy exactly six saris, rather similar in material and colour, charge them to his credit card and task our chauffeur (and jack of all trades) to beautifully gift wrap them. Why six saris? Well, one set of three saris (one from Aiyah and one each from the darling daughters) was presented to Ayah on their anniversary and one set on her birthday, barely a week later.
Now, the gifts were meant to be a surprise for Ayah; however, little did he know that as his aide de camp, Ayah had already got a message about the purchases – she being the main cardholder and he the supplementary one! Anyway, in a charade that went on for years, she acted duly surprised by the whole thing and oohed and aahed over the saris, while quietly planning on exchanging most of them for ones that were more in fashion, without hurting her Romeo. Thankfully, Aiyah, the chronicler, had a short memory when it came to such mundane things and didn’t realise that his carefully selected presents hardly ever saw the light of day!
Aiyah’s birthday was a couple of weeks later and this time it was Ayah’s turn to go surprise shopping. Aiyah was a huge fan of dogs, having grown up with a bevy of them, and every year would ask for one for his birthday. While we DID have dogs growing up, somewhere along the line, Ayah started shying away from the responsibility of having one. So, her response to Aiyah’s request was to buy him a stuffed animal every birthday – one each year meant he had quite the collection. Those stuffed toys had pride of place in their room and part of Aiyah’s daily routine, as soon as he woke up, was to pat each one of them the same number of times – who would’ve thought it of the stately old man! Every once in a while, Ayah would sneak the toys out of the room and into the wash – the battle that ensued as a result of the duly cleaned toys being an inch off-kilter was a sight to see indeed! Apart from the stuffed toys, there were other bits and bobs, but most important of all were the packets of Cadbury’s Gems and a Five Star bar – the Gems were later confiscated to decorate the cake.
Back in the present day, both the cake and the buttercream recipe have been tested not just by the apprentice, but by my newly recruited junior apprentice too – my oldest one, who decided to put it to test for my birthday a few months ago when she tried to replicate Ayah’s cake, right down to the gem laden stars (picture above). Their only criticism was that both of them ended up with raw centres because a) they weren’t sure about the baking time; and, b) they weren’t sure how to test if the cake was cooked completely. I have included tips for both in the recipe. The apprentice, American that he is, also had a bit of a grumble about following a recipe that required weighing scales but reluctantly did me the favour of converting to cups and measures.
A question that beginner bakers often have is about the difference between a butter / pound cake and a sponge cake. A sponge cake is a light, fluffy cake that is made with three ingredients - eggs, sugar and flour, with the eggs and sugar beaten to an almost meringue like texture and then the flour folded in. The resulting cake is light as air and delicious in desserts but does not hold up well to heavy decorations on a cake. If I remember right, a pound cake is so called because it was originally made with a pound each of 4 ingredients - butter, sugar, eggs and flour. The butter and sugar are creamed together until fluffy and then the eggs and flour are added to it. The resulting cake is denser, richer and moister than a sponge, one which holds its shape beautifully and works well for decorating. Rather confusingly in India and in some other countries, sponge cake is a generic term and can also be used to describe a pound cake as well. While the traditional flavouring added to both cakes is vanilla, it can be changed to suit your tastes.
So, for the wannabe bakers and cake decorators out there, we present to you the recipes for a basic butter / pound cake and a crusting buttercream icing that, as an amateur cake decorator, I’ve found holds up well even in hot and humid conditions with minimal refrigeration. A word of caution - do invest in either a hand mixer or, if you have the money and the space, a stand mixer before you embark on your baking journey. I promise, it will make your life easier!
Notes:
1. Equipment required for this recipe: A blender to powder the sugar, a sieve / sifter to sift the flour, preferably a hand cake mixer or a stand mixer (if not available, use a whisk / spatula) and a rubber spatula / wooden spoon.
2. This recipe is for a pound cake which is denser than a traditional sponge cake. If you are looking for a light and fluffy sponge cake, you will need to look at another recipe.
3. Make sure all the ingredients are at room temperature, so leave them out of the refrigerator for at least 15-20 minutes or more if you live in colder climes.
4. The cake can be served as is or layered with clotted cream / buttercream icing and jam. Alternatively it can be used as the base for a decorated cake.
5. If you already have a cake recipe and would like to try out the crusting buttercream icing recipe, click here.
Ingredients:
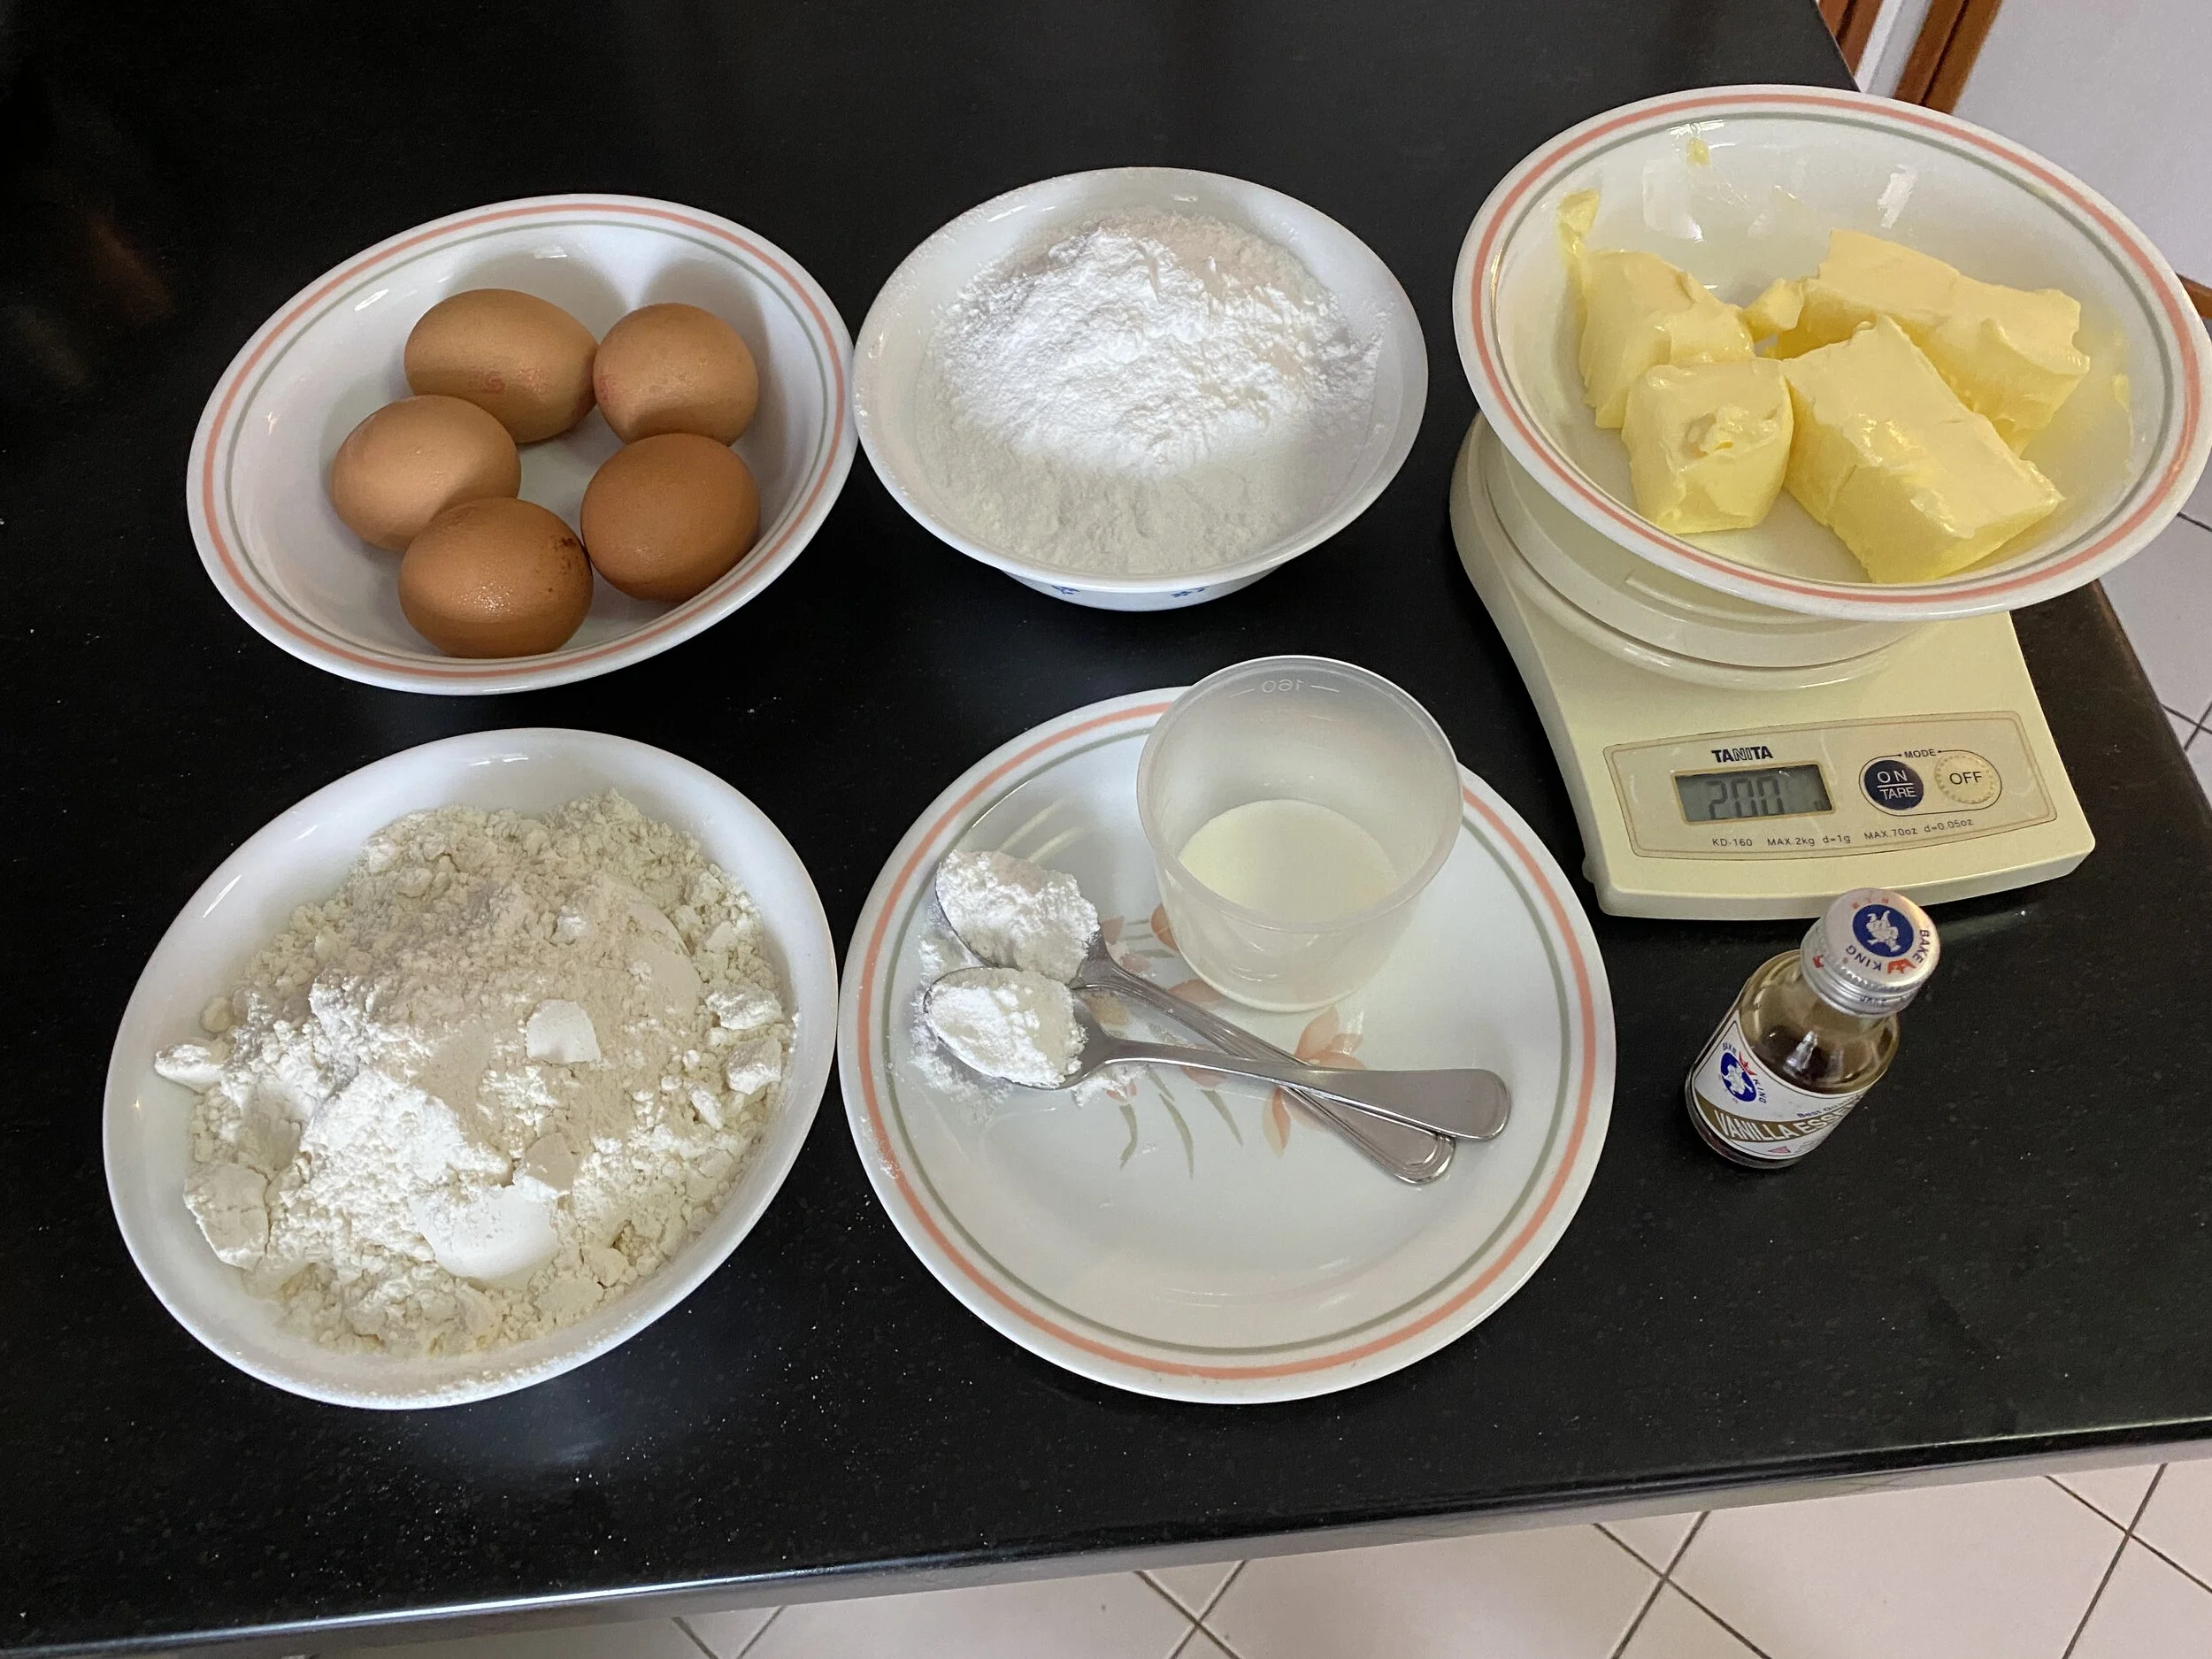
200 gm / 1 ¾ sticks unsalted butter, cut into cubes and brought to room temperature + ~ 1 tablespoon for greasing the cake tin
250 gm / 1 ¼ cups sugar, powdered (not icing sugar)
250 gm / 2 cups plain flour + ~ 1 tablespoon to dust the cake tin
2 teaspoons baking powder
5 whole eggs, at room temperature
2 teapoons vanilla essence
Optional: 4-6 tablespoons milk
Method:
1. Cut the butter into cubes and leave out for about 10-15 minutes to bring to room temperature and soften.
200 gm / 1 ¾ sticks unsalted butter, cut into cubes and brought to room temperature
2. Powder the sugar in a blender.
250 gm / 1 ¼ cups sugar, powdered (not icing sugar)
3. Sift the baking powder and the plain flour together.
250 gm / 2 cups plain flour
2 teaspoons baking powder
4. Preheat the oven to 160 C (325 F).
5. Cream the butter with the sugar until white and fluffy. You can do this manually using a rubber spatula, but beware those sore arm muscles. It takes about 8-10 minutes using a hand mixer and less with a stand mixer.
6. Beat the eggs in a bowl. Add the egg mixture to the creamed mixture, a quarter at a time and mix in. Make sure the eggs are at room temperature - if they are cold, the cake mixture will curdle.
5 whole eggs, at room temperature
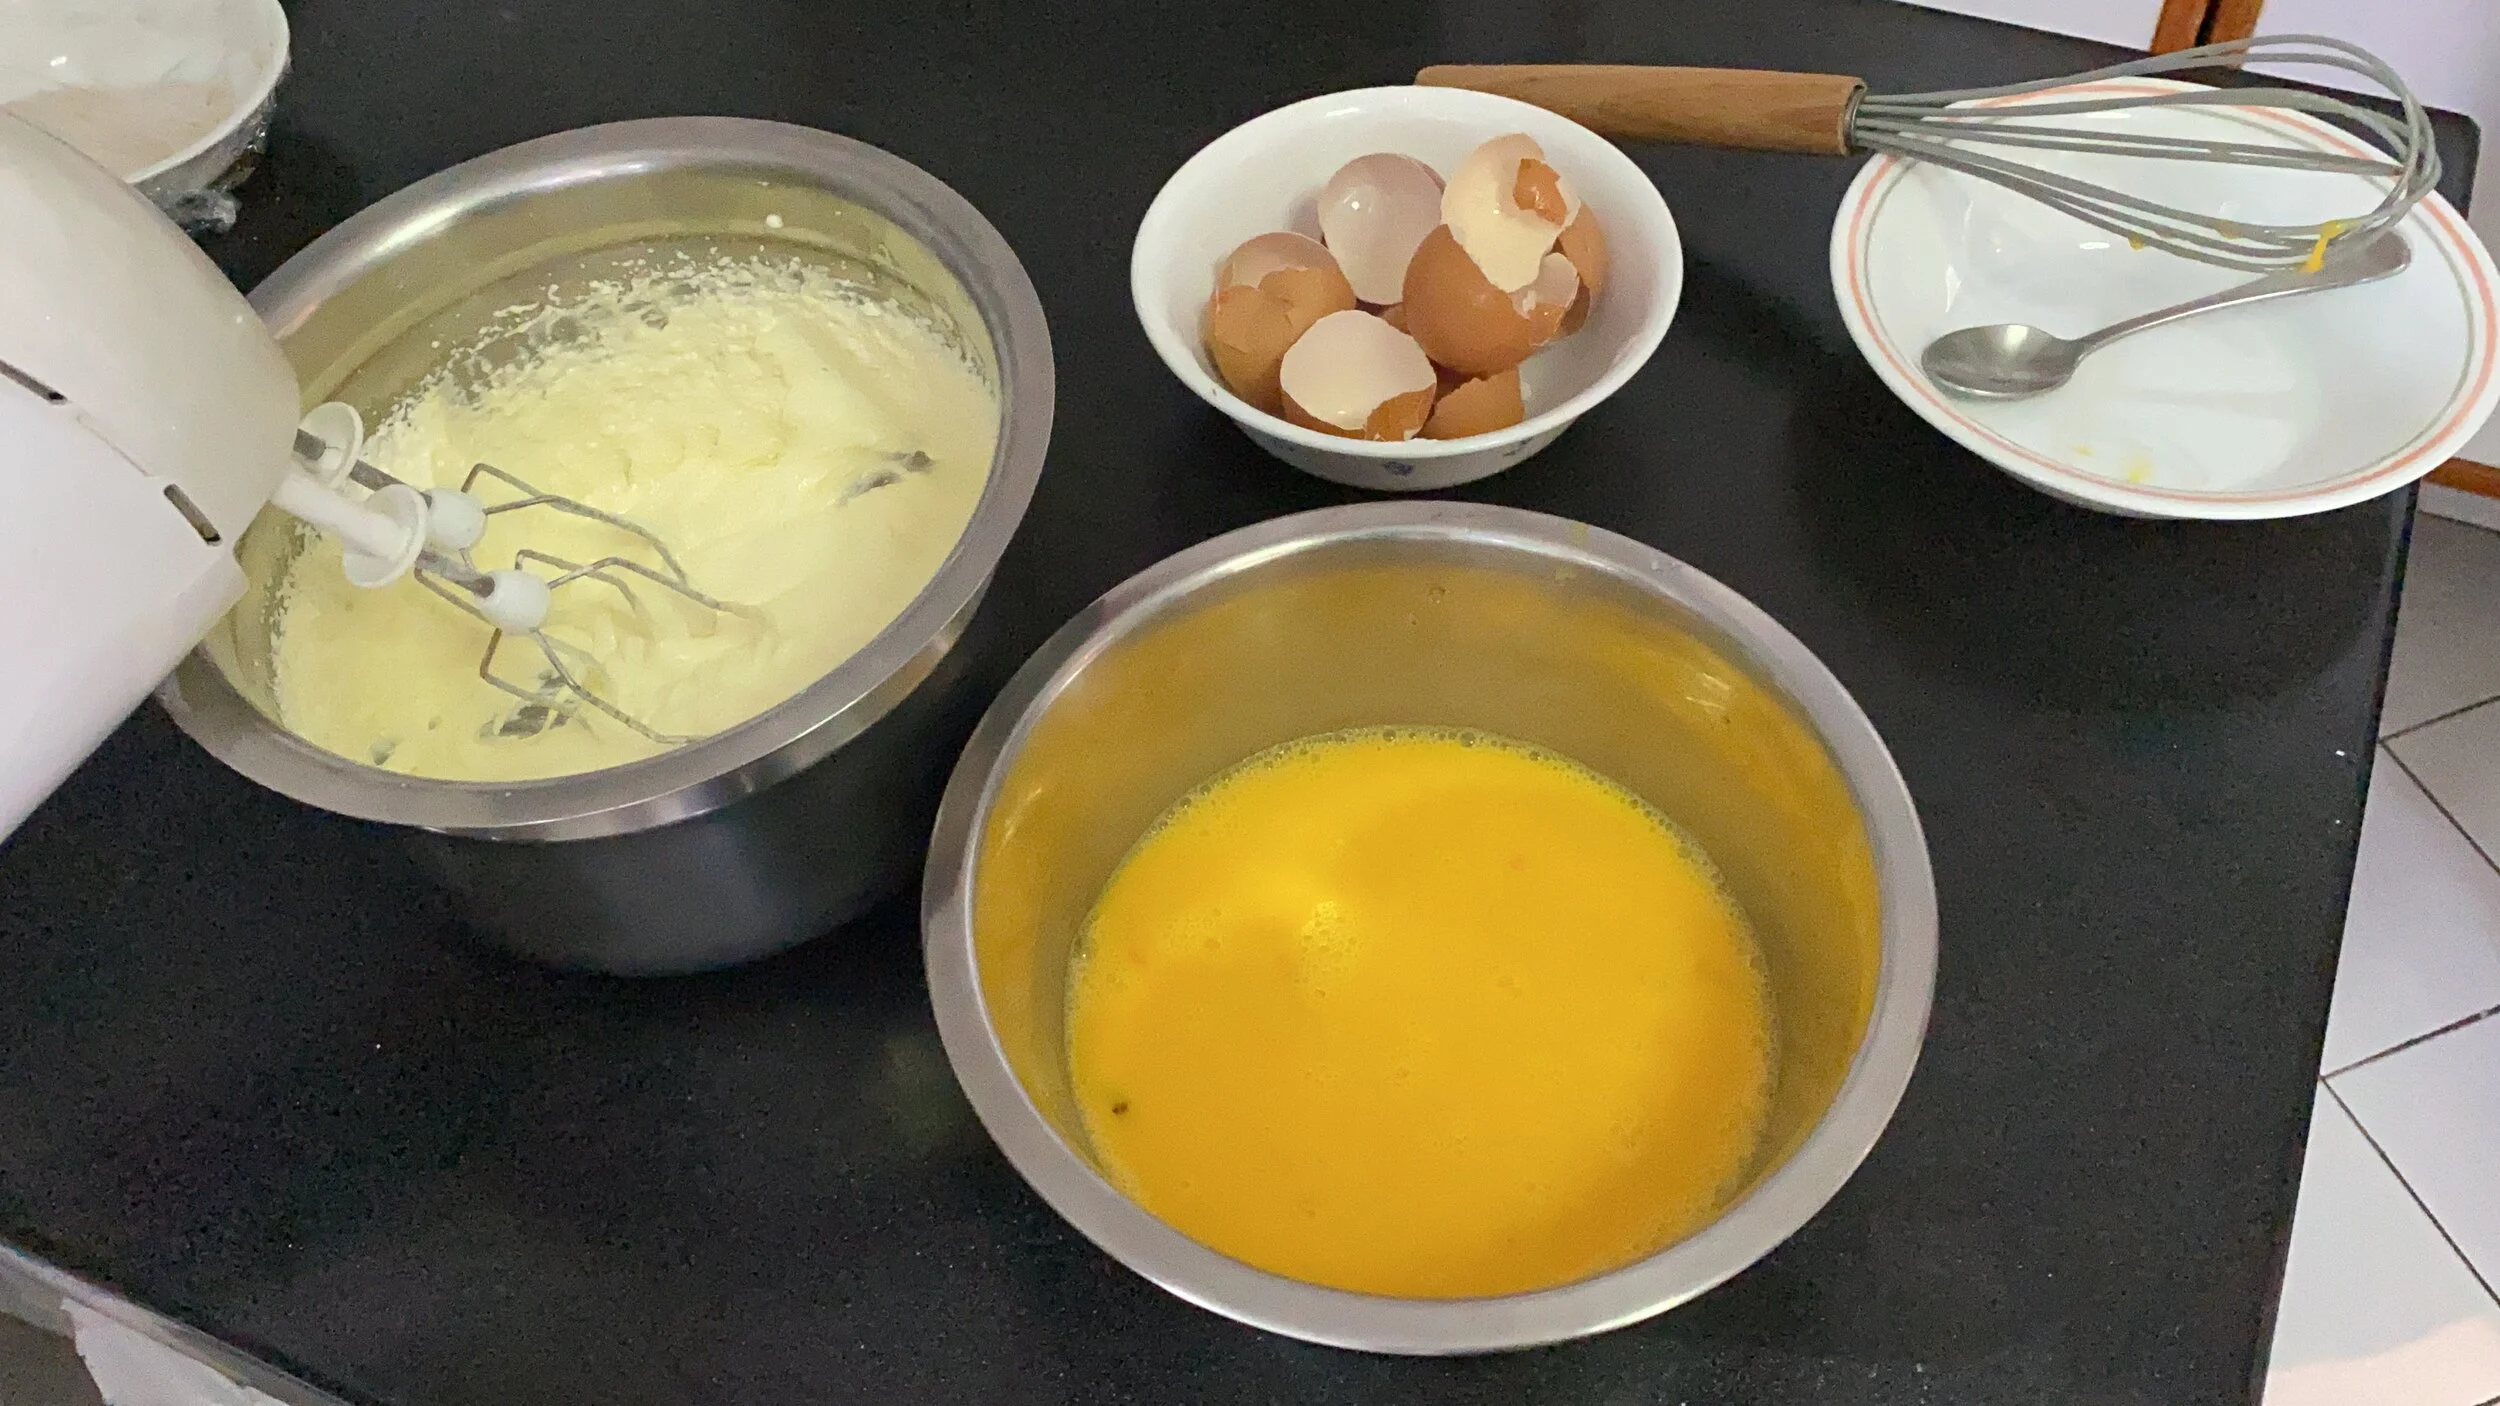
Cream the butter and sugar until light and fluffy. Then add the eggs a bit at a time.
Consistency after the eggs are added
7. Add the vanilla essence and mix in.
2 teapoons vanilla essence
8. Fold in the sifted flour and baking powder, a quarter at a time. It is important not to overmix, so fold using a rubber spatula or wooden spoon, rather than a mixer. If your batter is lumpy, mix using the hand mixer at the lowest speed for a couple of seconds, just to break up the lumps.
9. This is optional, but I like to add some milk to the mixture to loosen it up a bit.
Optional: 4-6 tablespoons milk
Fold the flour, in parts, into the butter, sugar, egg mixture
The consistency of the final batter
9. Grease a 9” baking tin and dust with a tablespoon of flour. Dust off excess flour.
~ 1 tablespoon butter for greasing the cake tin
~ 1 tablespoon plain flour to dust the cake tin
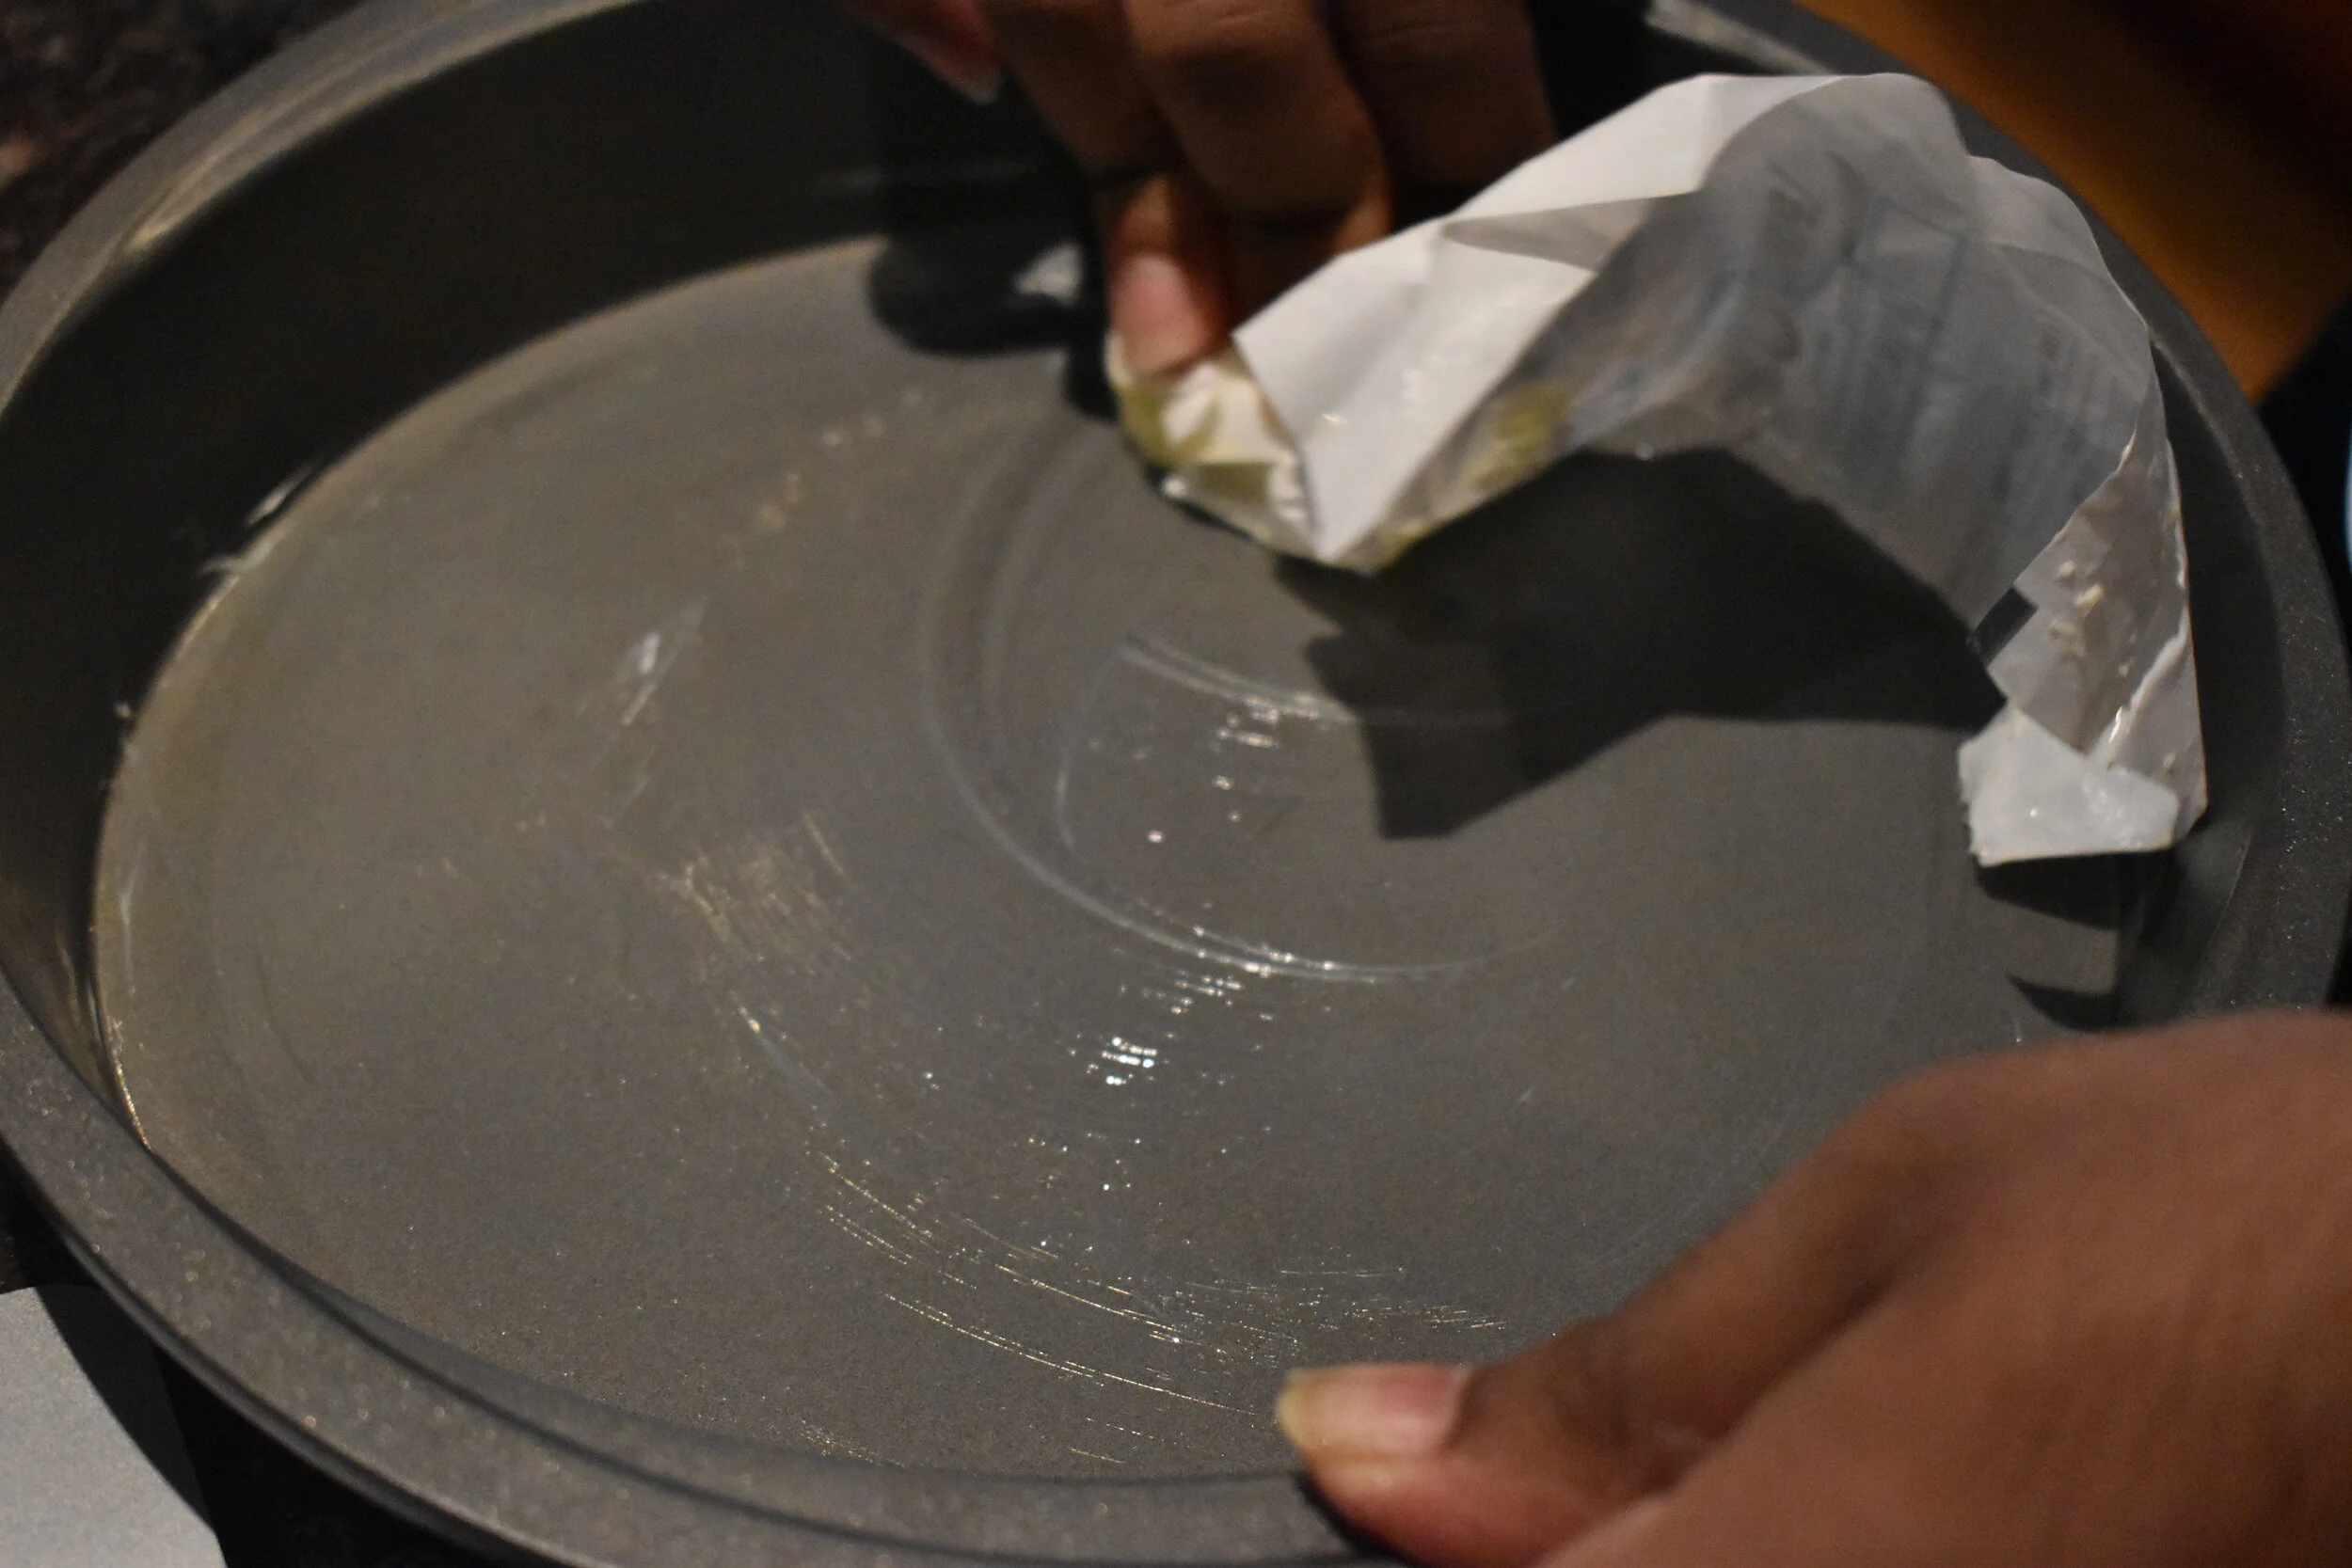
Greasing the cake tin

Dusting the cake tin with flour
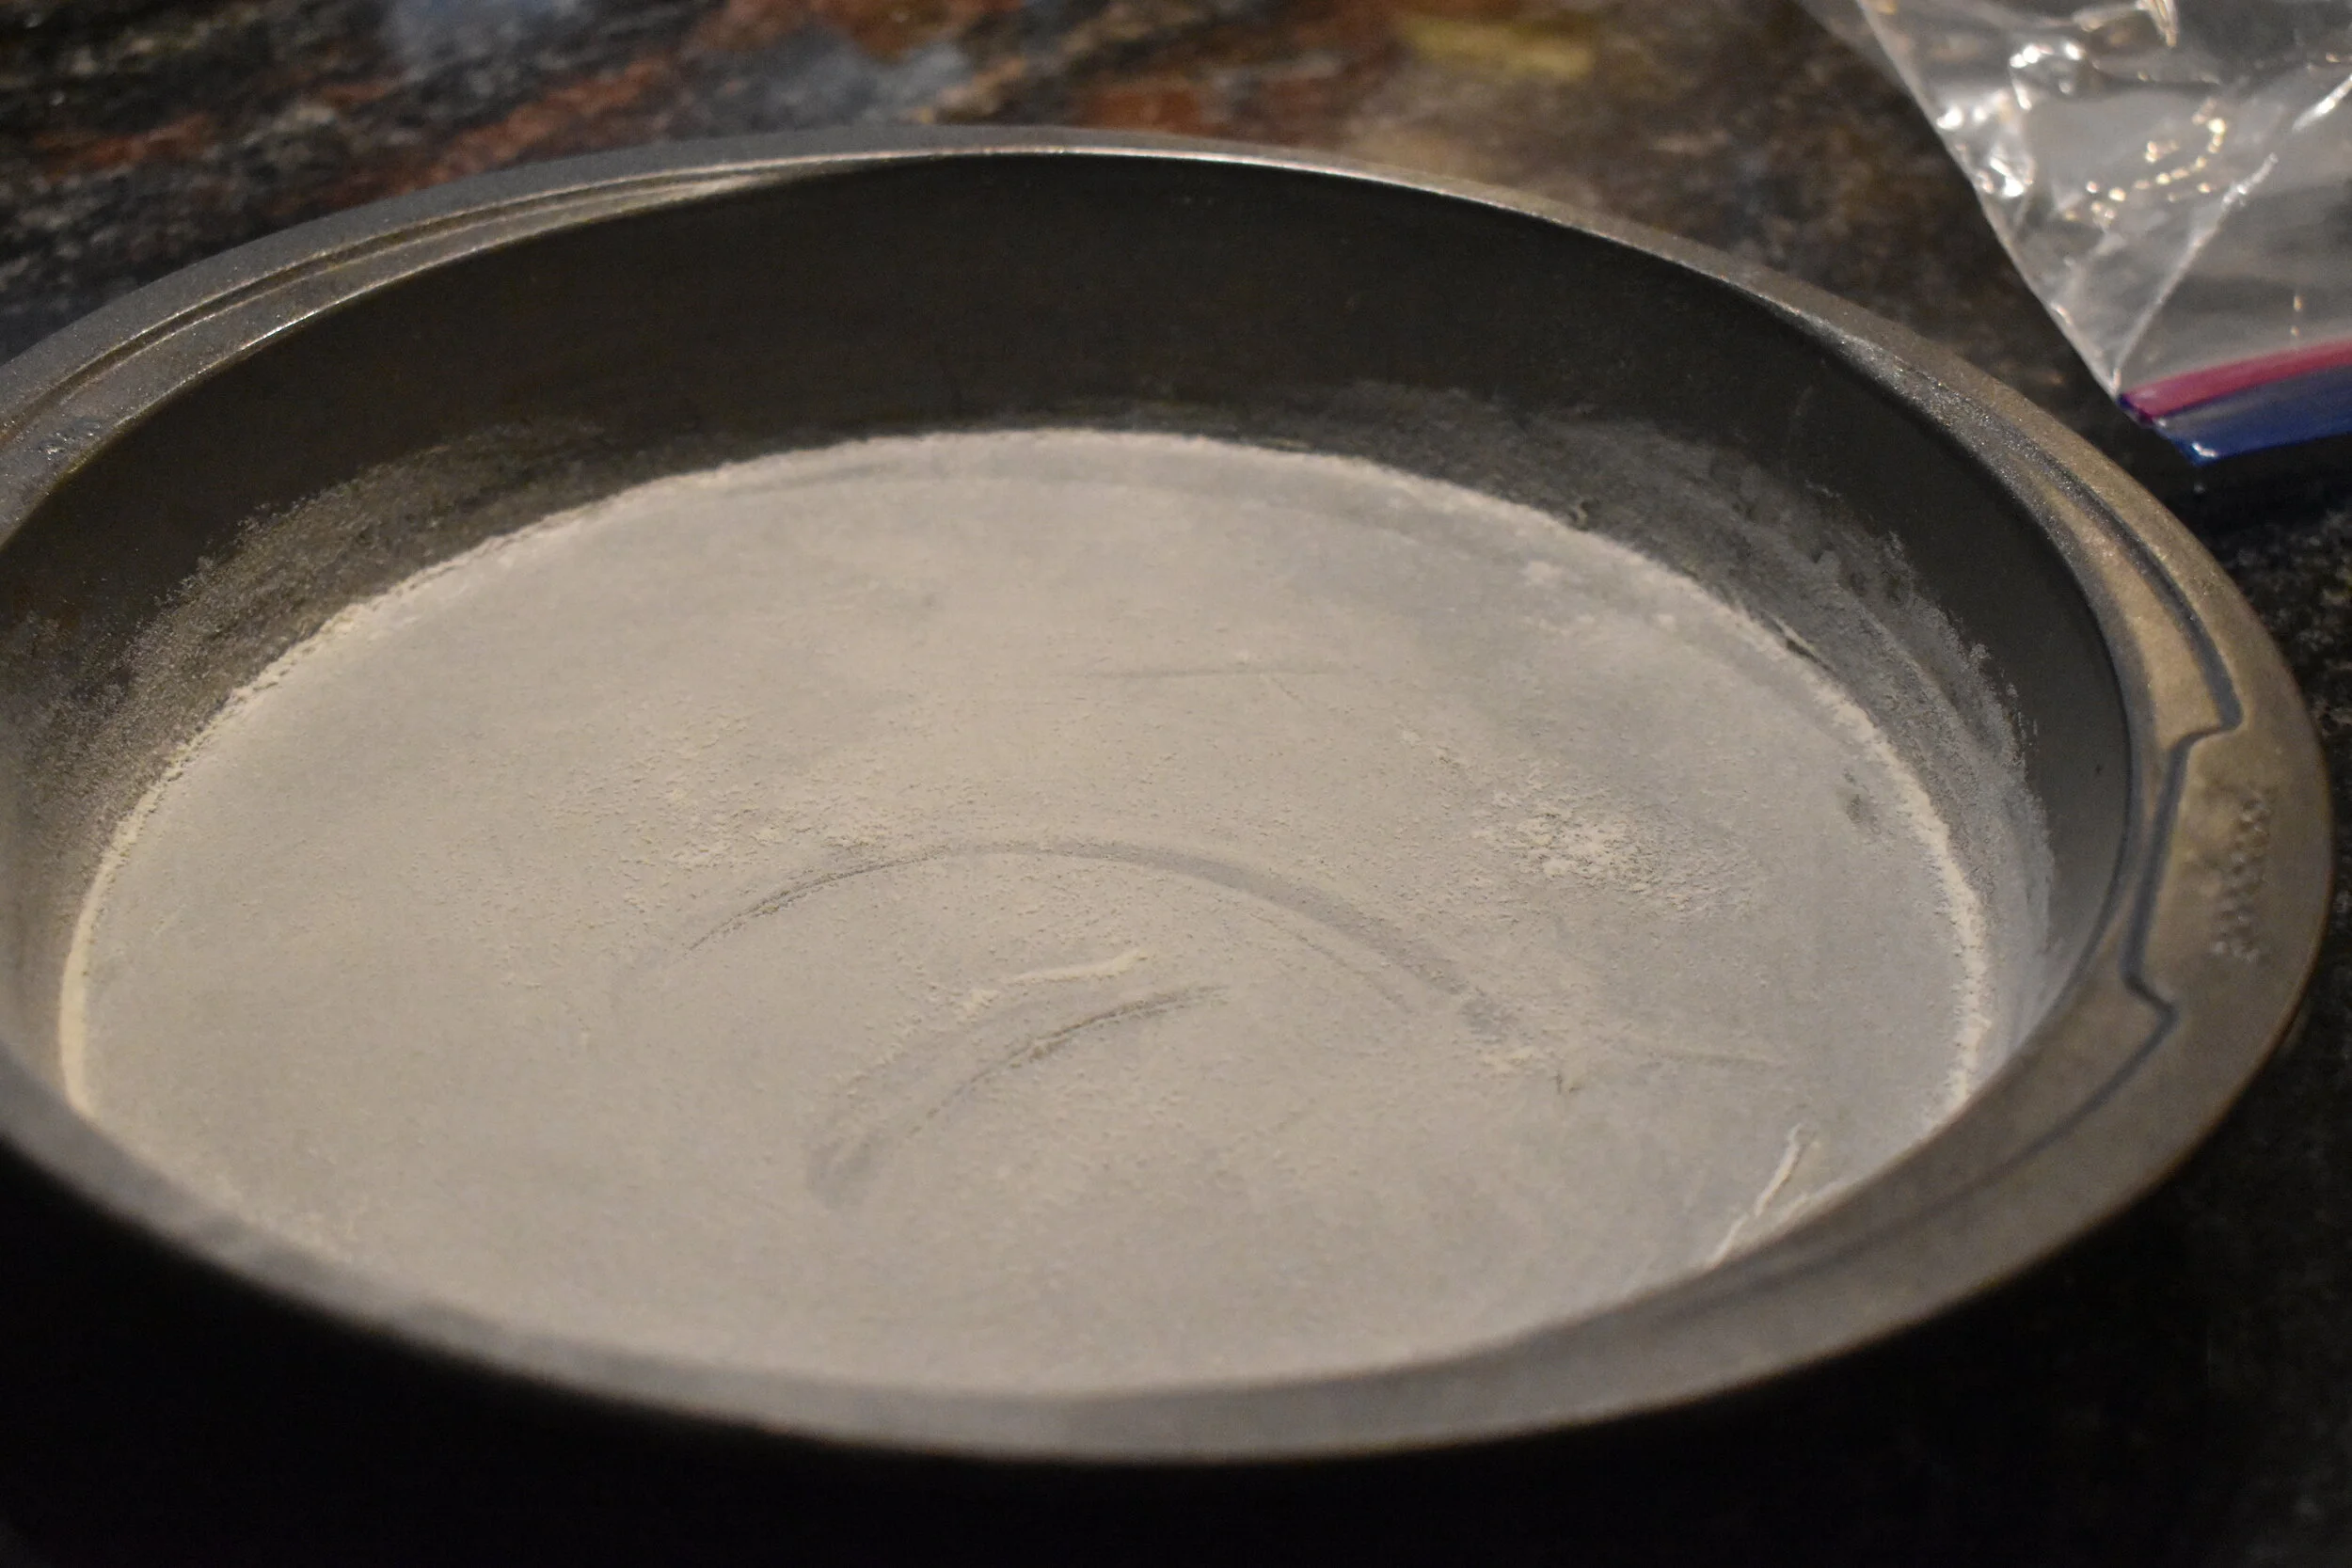
The cake tin is ready for the batter
10. Pour the batter into the tin and put in the oven - it should be no more than 3/4 full. Bake for about 45-55 minutes. To check if its done, at about 45 minutes:
the sides of the cake should have separated from the pan
prick the centre with a toothpick – if it comes out completely clean and dry, the cake is done.
gently press the centre of the cake - if it springs back, the cake is done.
11. If the cake is not yet done, return it to the oven until ready. If the top is browning too quickly, create a dome around the cake tin using aluminum foil and continue baking.

Fill the cake to less than 3/4th full and bake in a preheated oven at 160 C (325 F) for 45-55 minutes.

The cake is ready when the sides are separated from the pan; a clean toothpick pricked into the centre comes out completely clean and dry; and the centre springs back if pressed down gently.
12. Once the cake is done, remove it from the oven and set aside to cool. Once the cake cools, remove from the tin and transfer to a plate.
13. Serve as is, dusted with powdered sugar or with a bit of clotted cream or buttercream and jam (like a Victoria sandwich cake).
14. If you are using the cake to decorate, slice the cake in half to create two layers and sprinkle some simple sugar syrup (1 part sugar to 4 parts water; optional, add a tablespoon of lemon juice) on the open faces of the cake before icing the layers - this helps the cake remain moist. Read on to learn how to make a simple crusting buttercream icing that is perfect for decorating your cake or simply just layering it.
Makes: One 9” cake, about 15-20 slices
Apprentice rating: Easy
Ingredients:
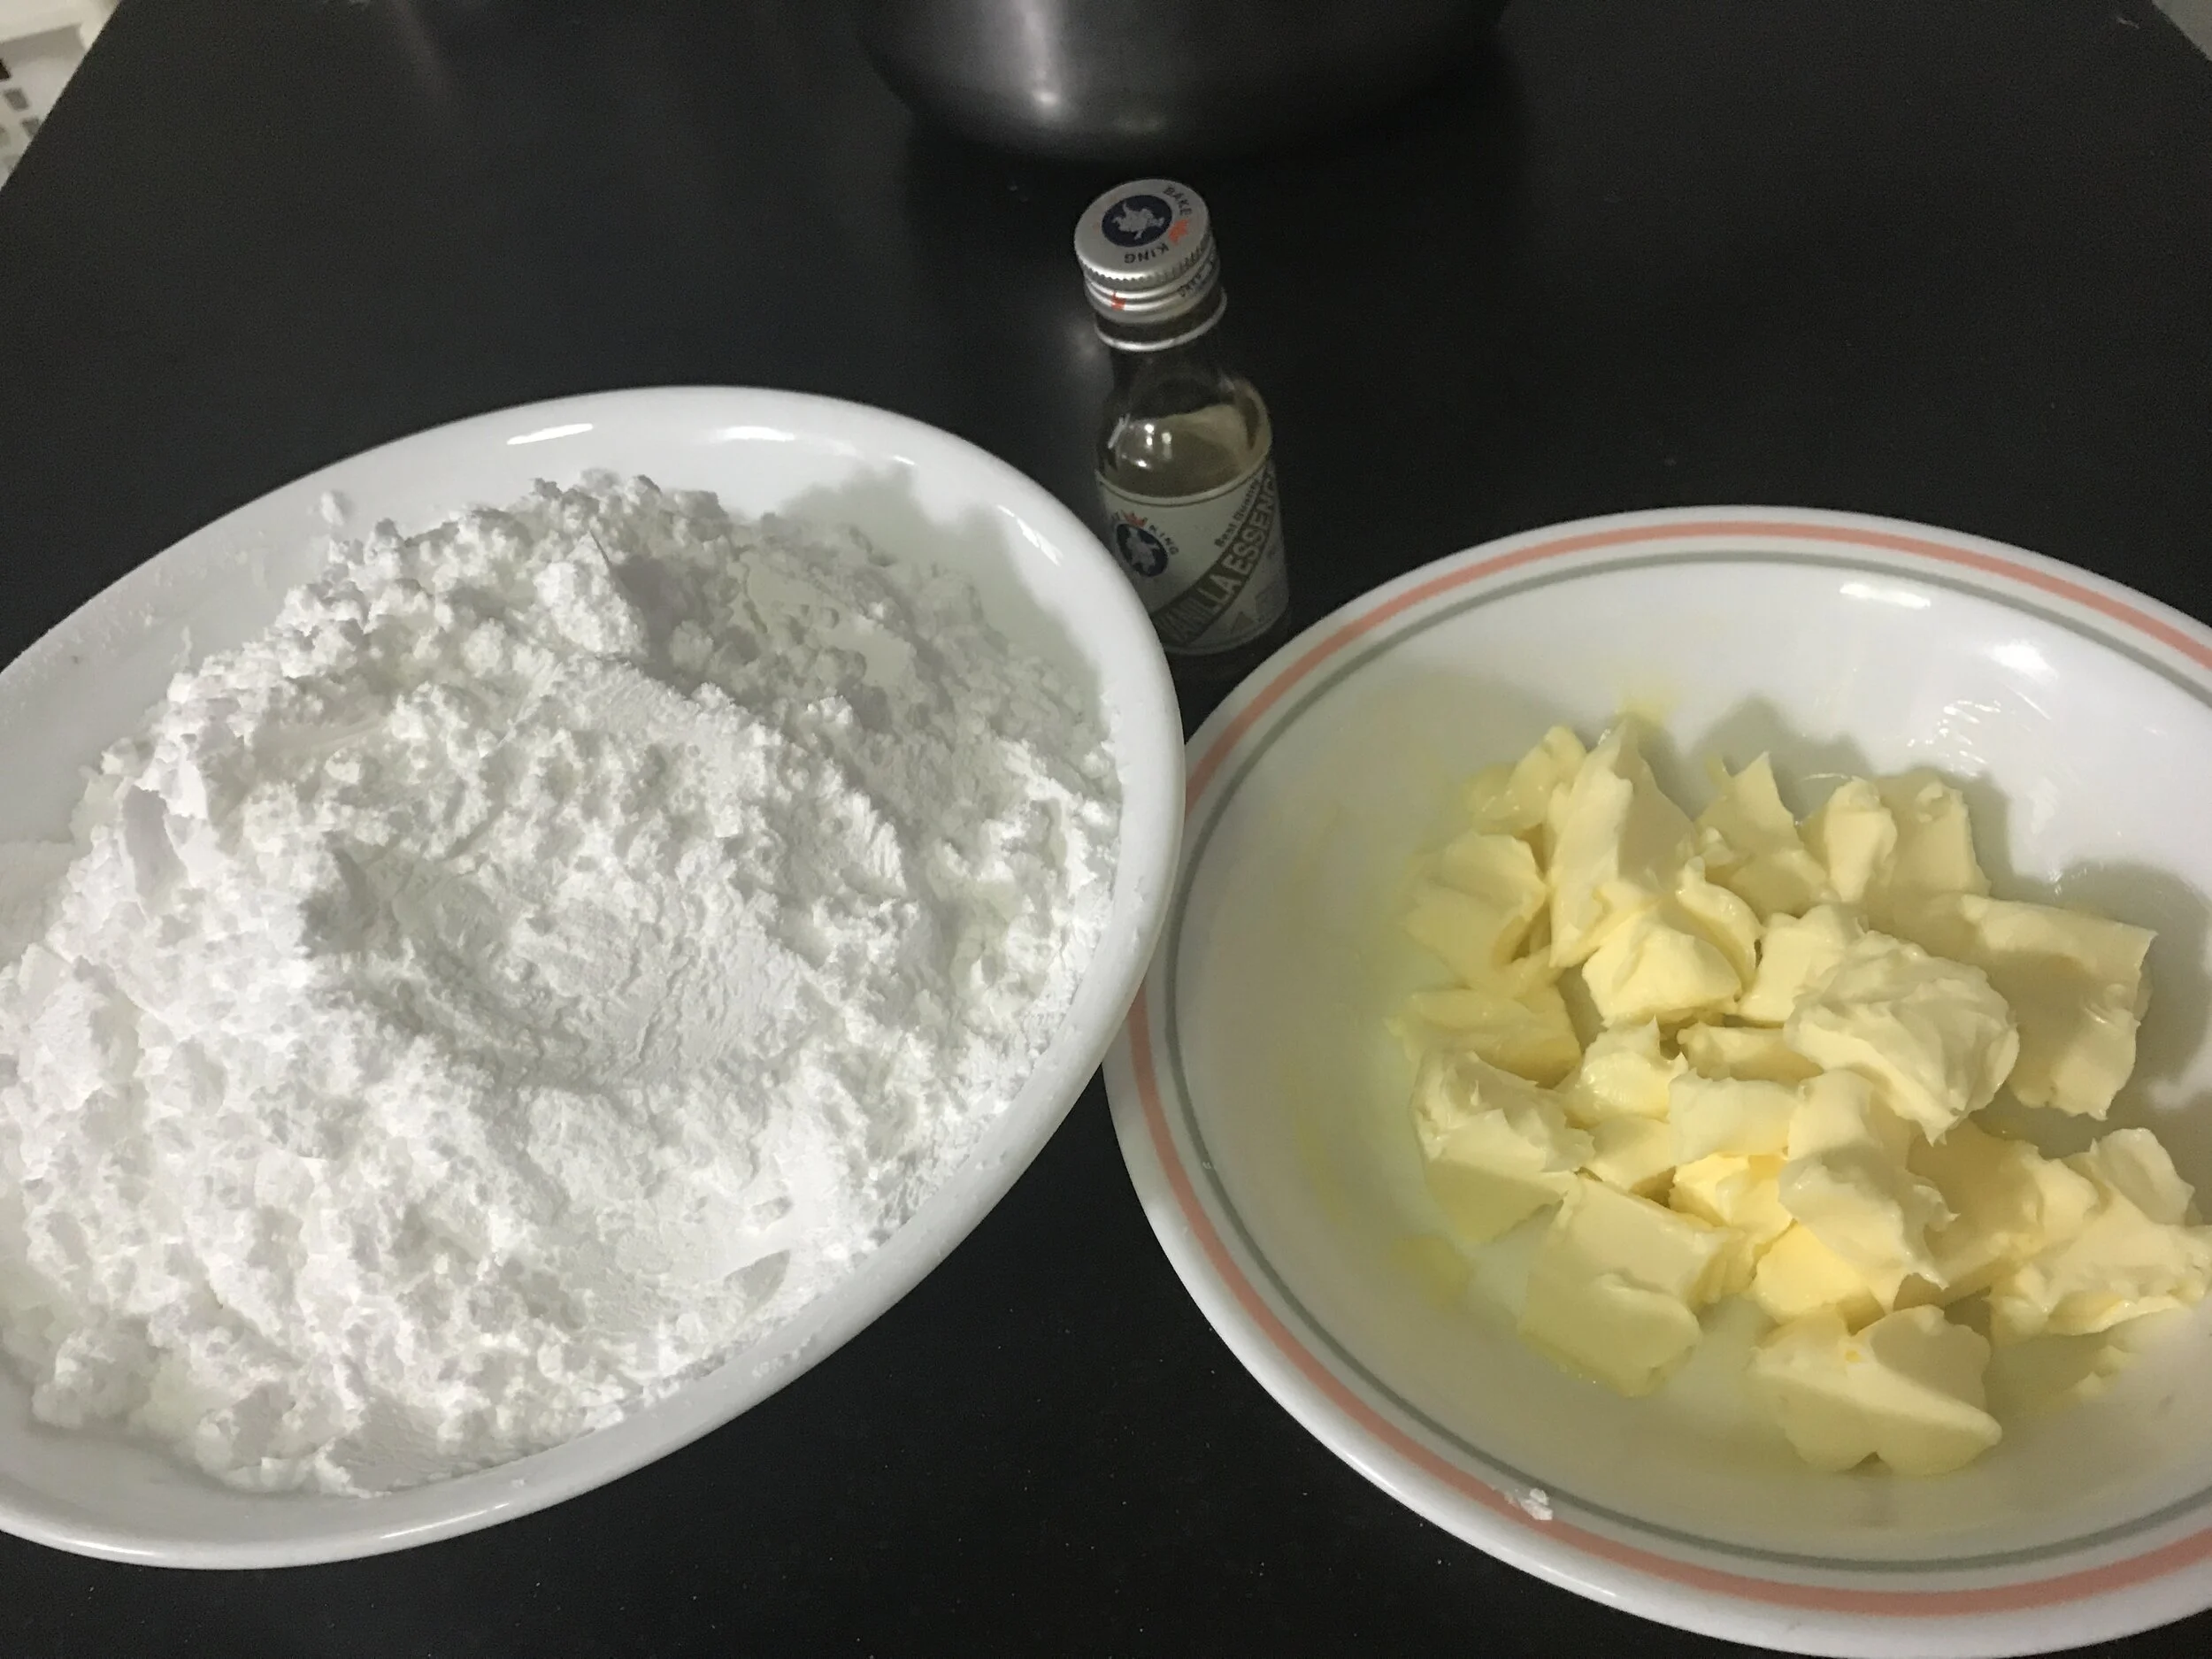
150 gms / 1 ¼ sticks unsalted butter, cut into cubes and brought to room temperature
500 gms / 4 cups icing sugar, sifted
3 teaspoon vanilla essence
5 tablespoons milk or cream
1. Cut the butter into cubes and leave out for about 10-15 minutes to bring to room temperature and soften.
150 gms / 1 ¼ sticks unsalted butter, cut into cubes and brought to room temperature
2. Sift the icing sugar.
500 gms / 4 cups icing sugar, sifted
4. Cream the butter and sugar by adding the sugar a bit at a time. Once about 3/4th of the sugar is added, you will notice the texture will start getting clumpy, almost like clumps of dirt. Don’t worry and continue to add the sugar as the milk will thin it out.
5. Add the vanilla essence and milk / cream to the mixture and continue until mixed in. You will now have a spoonable mixture.
3 teaspoon vanilla essence
5 tablespoons milk or cream
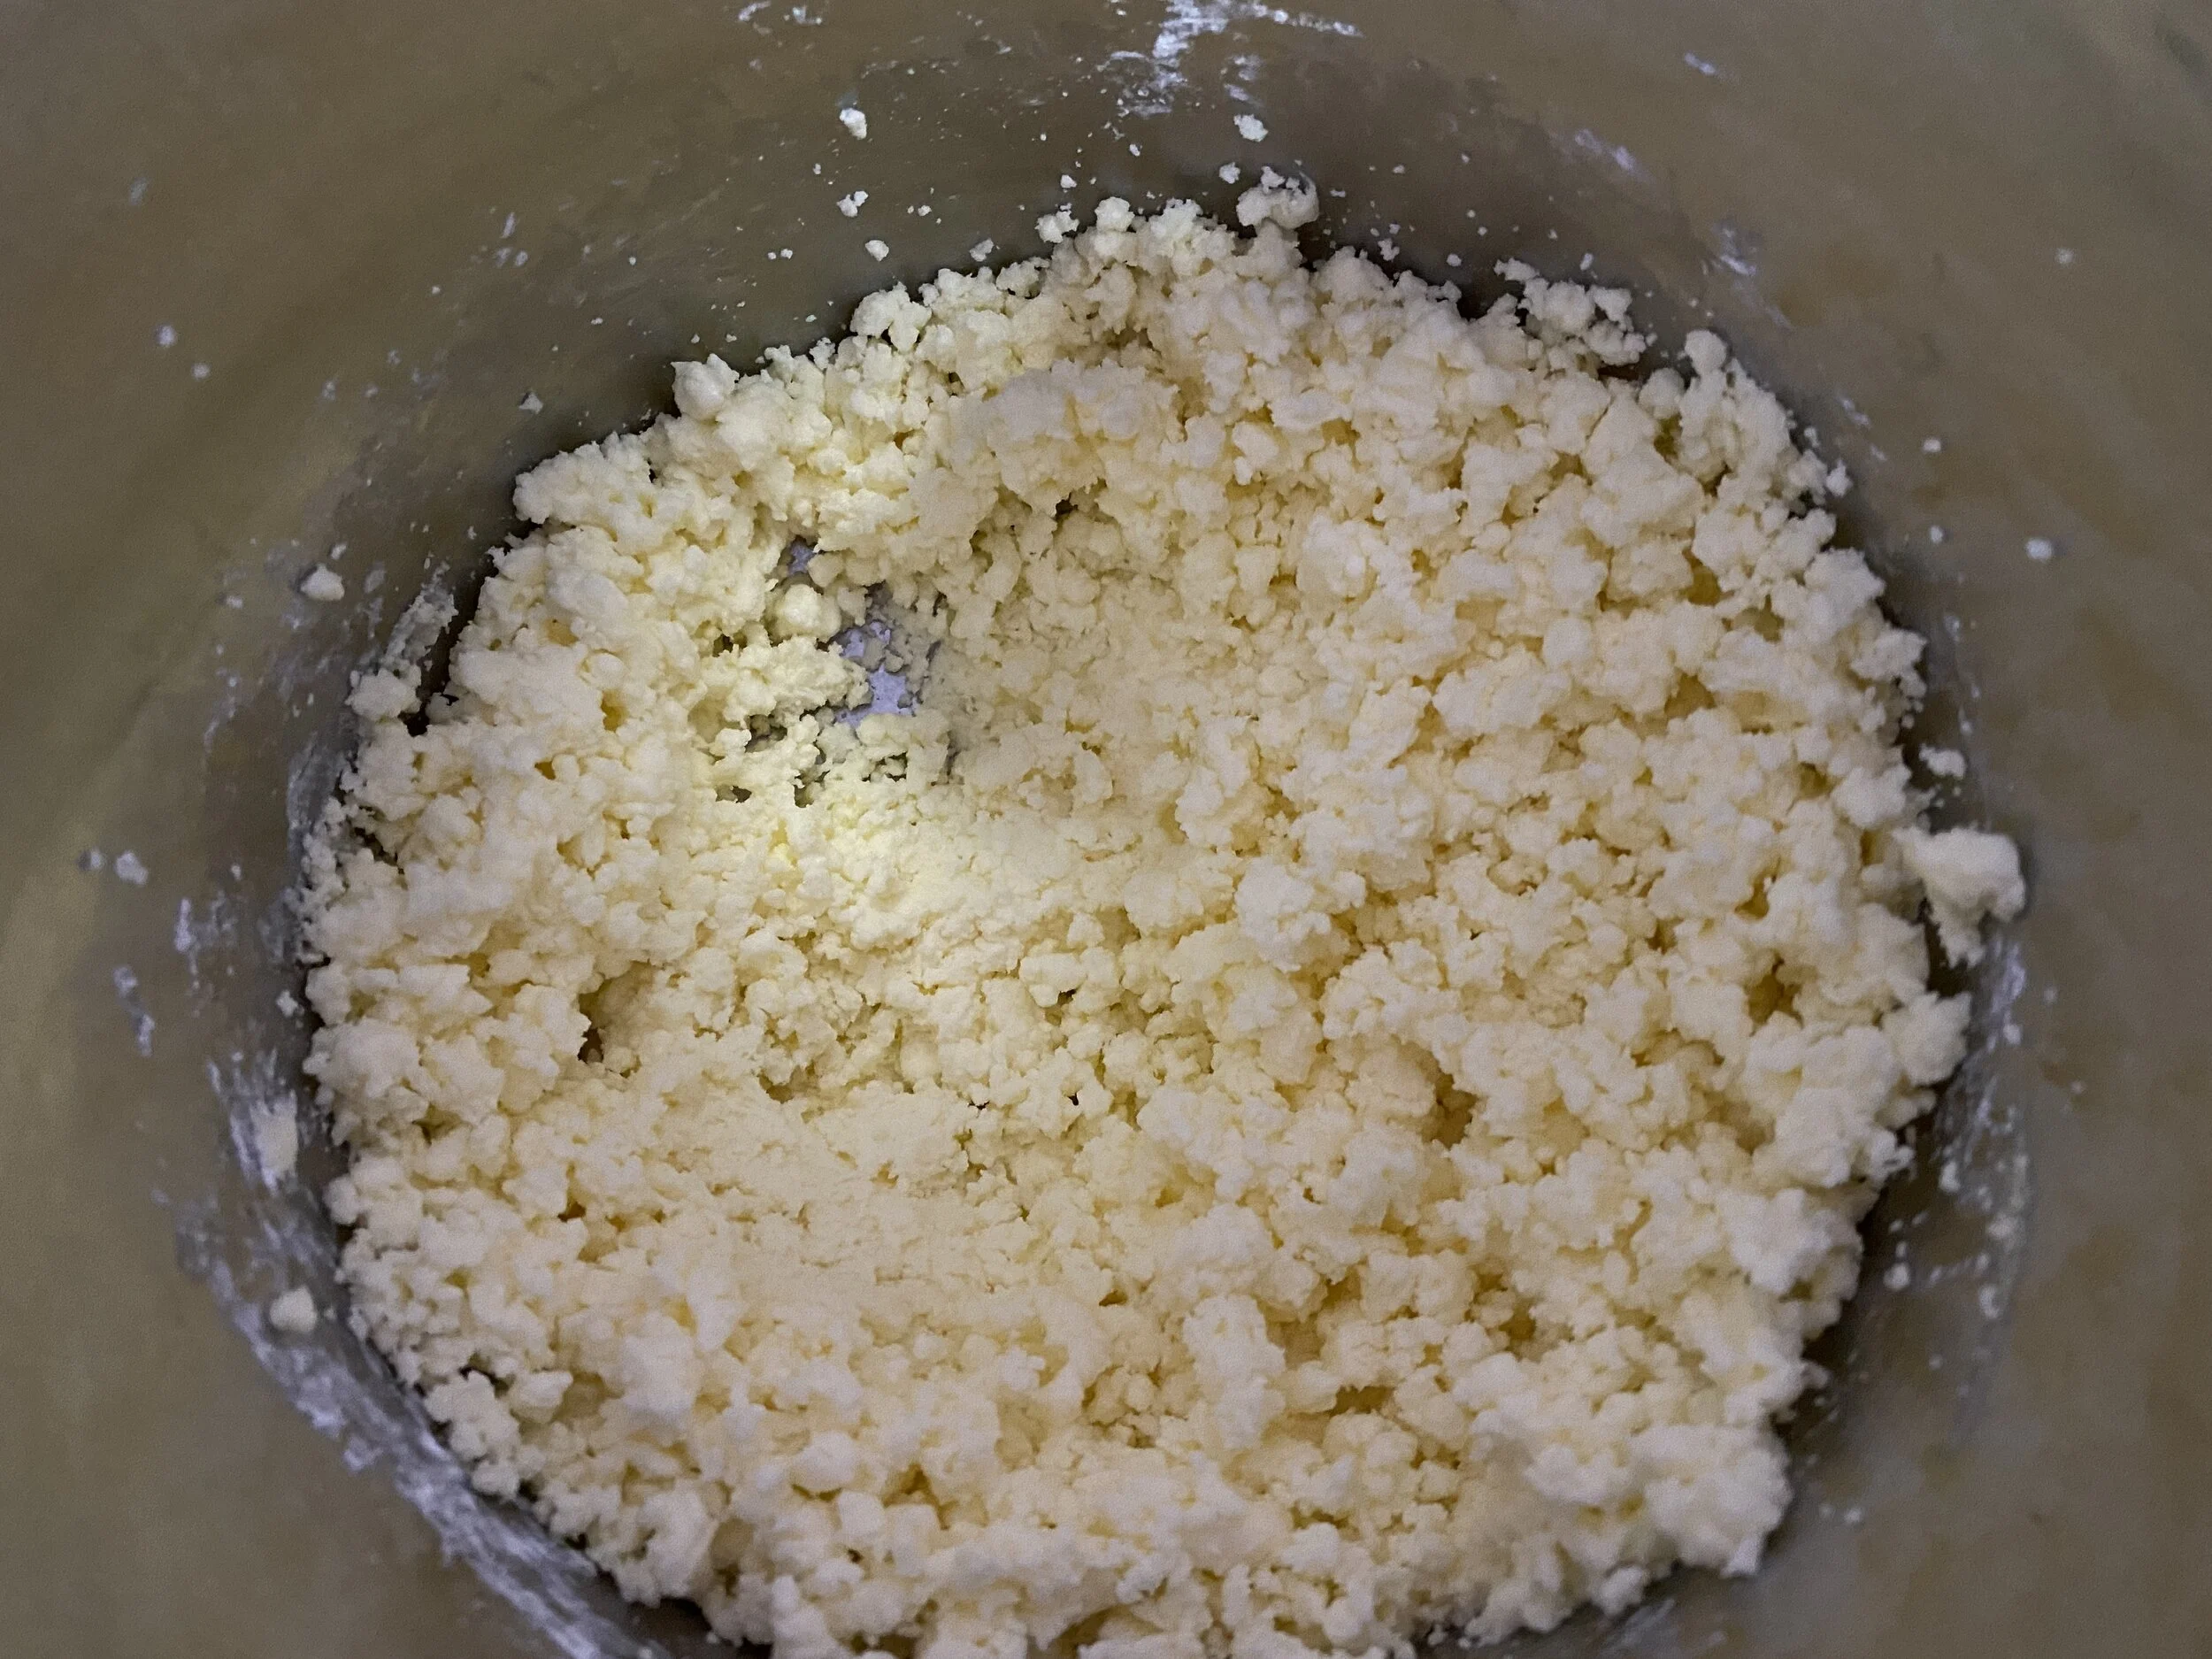
Consistency after about 3/4th of the sugar is added
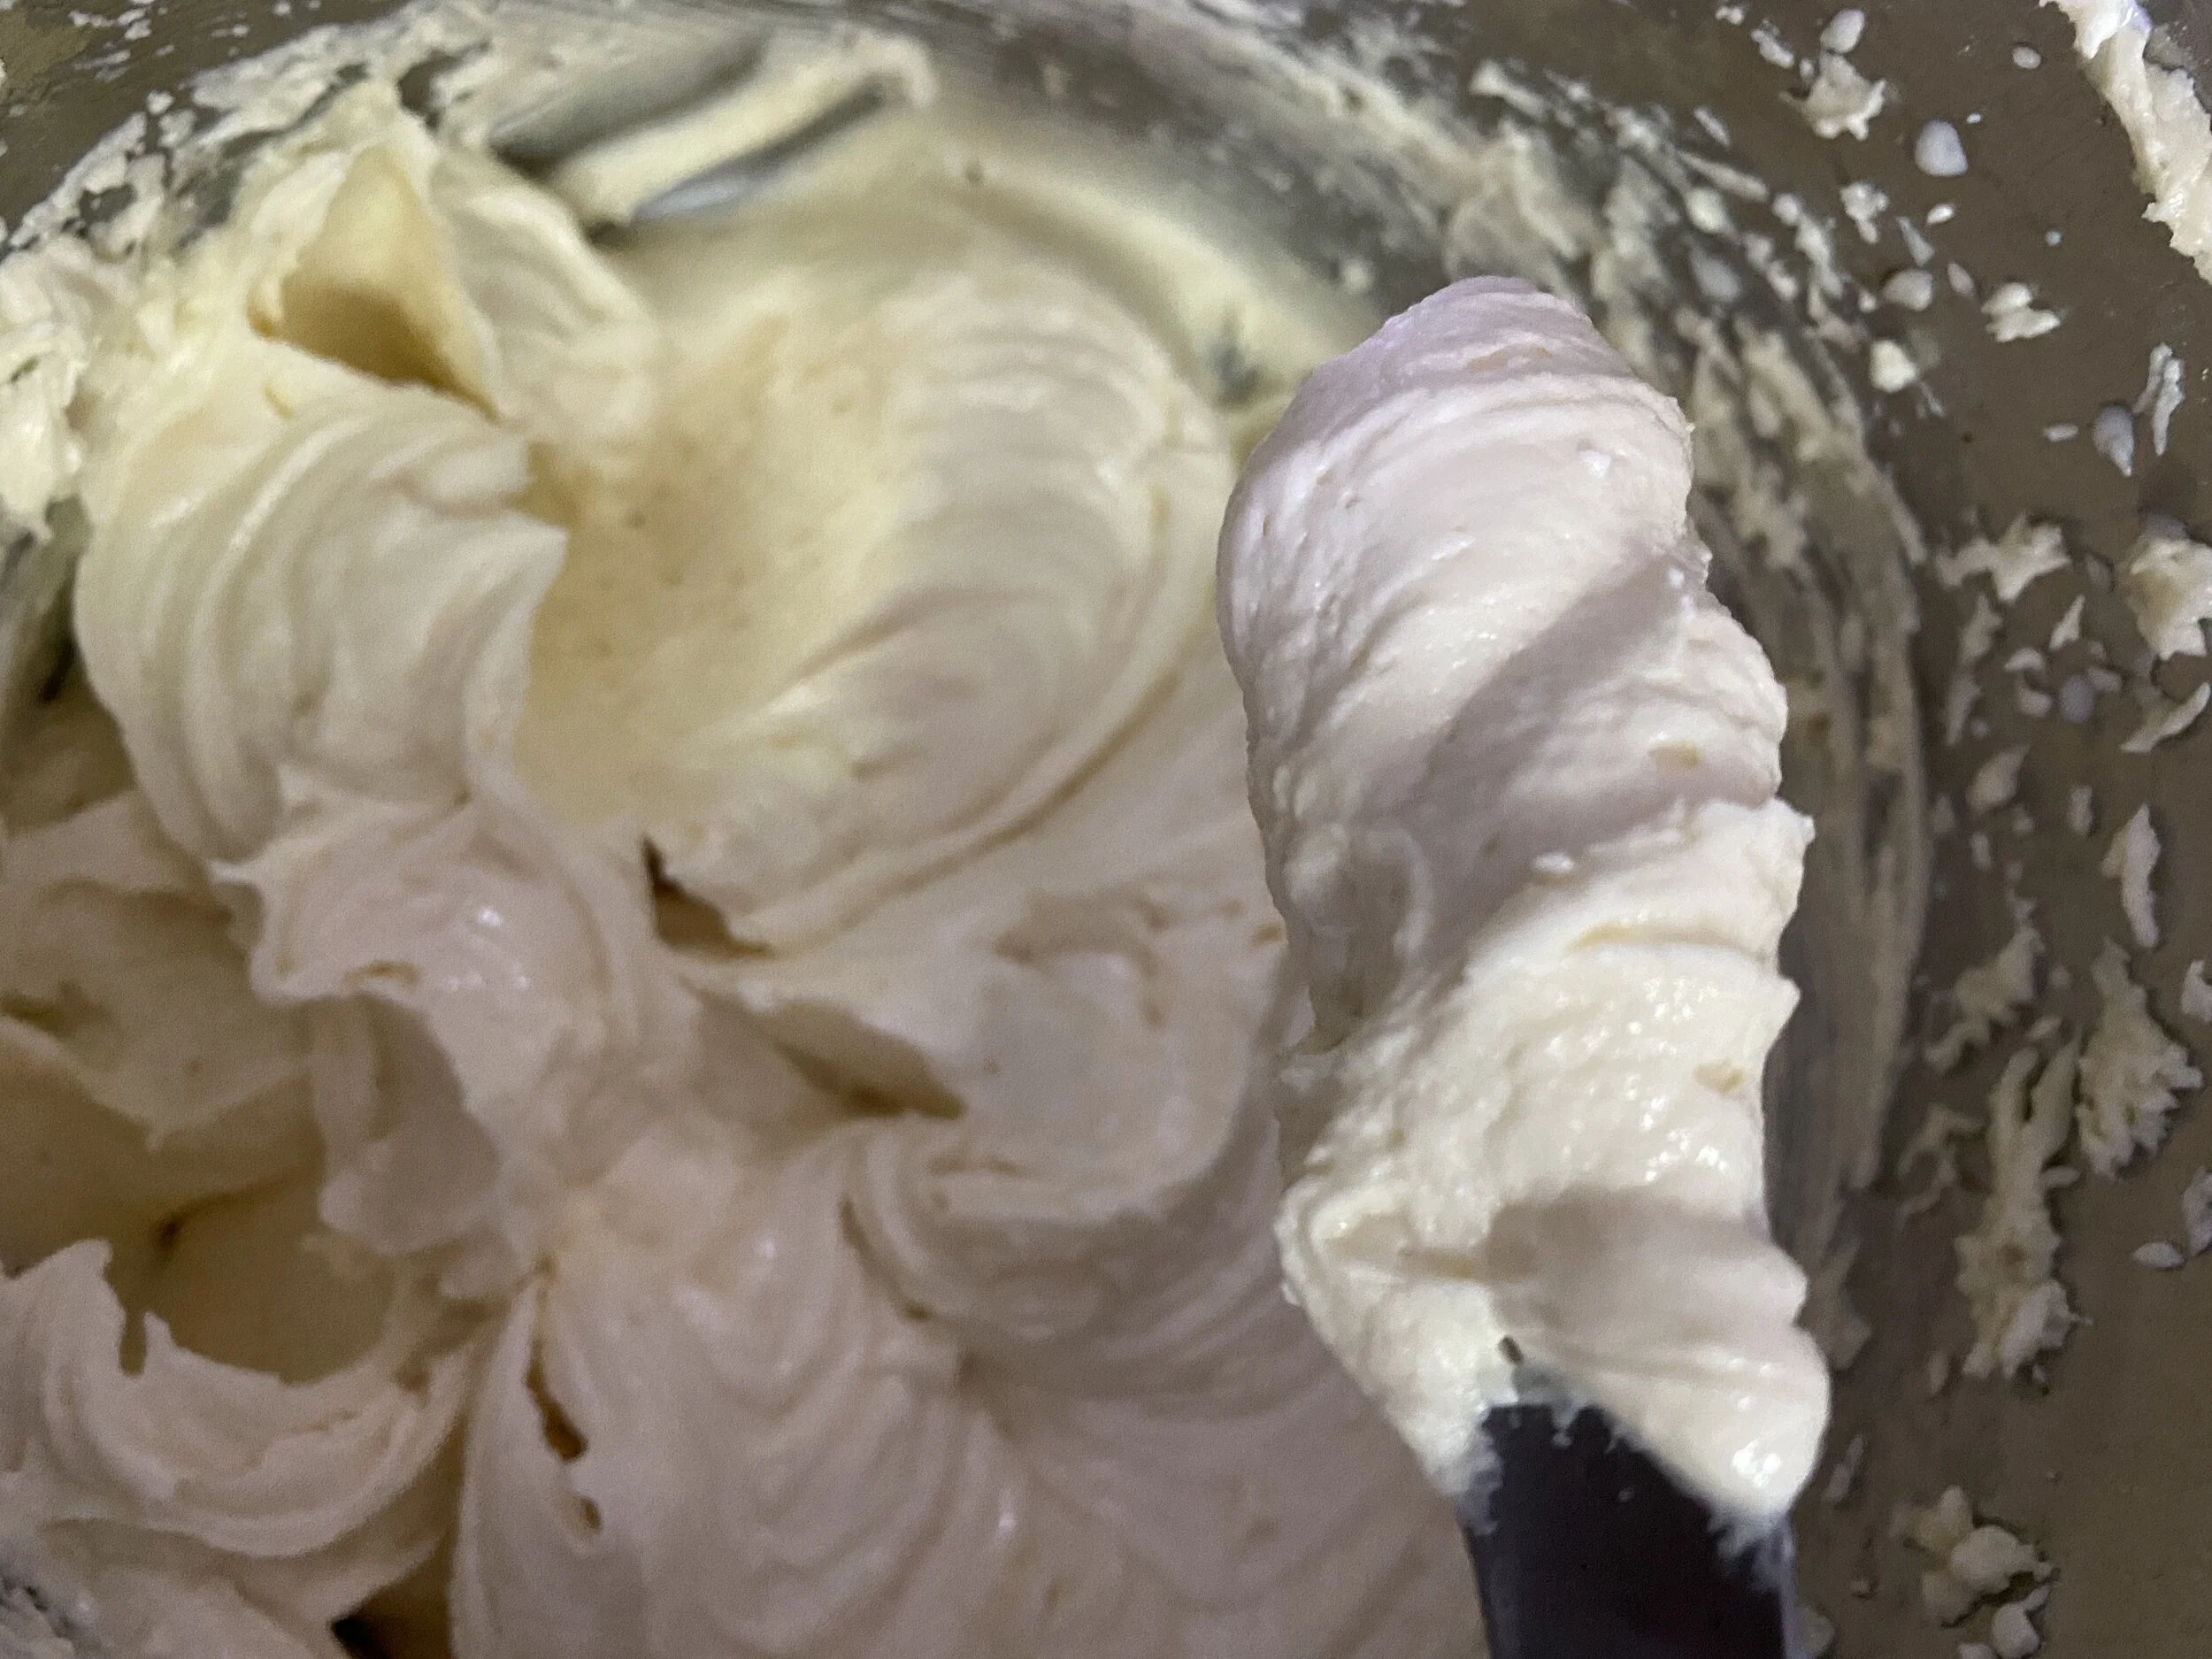
Consistency after adding the milk / cream
6. Store in the refrigerator until ready to use.
7. When you are ready to ice your cake, remove the icing from the refrigerator and leave out for 10-15 minutes until slightly thawed. If using colours, split into different bowls and colour each one as required. You can use this buttercream to layer as well as decorate your cake as desired.
Makes: Enough to layer and decorate one 9” cake
Apprentice rating: Medium, slightly cumbersome and takes time
Recent Posts: